Properly locating and bedding down the hold-downs or anchor bolts on your building project is about more than just passing the inspection. The extreme storms in recent years have made it a matter of life or death to have our houses and outbuildings built to withstand even the most severe storms.
Your engineering layout must specify the location and type of anchor bolt. The engineer will specify the type, length, and location of each hold down exactly. Work with the appointed framer to mark and locate each anchor bolt and be prepared for the concrete pour well in advance.
Working with the design engineer, framer, and the concrete supplier is important to ensure that the reinforcement and tie-downs are securely installed and give your building the required strength. Let’s look at all the aspects to consider when planning and installing anchor downs.
Anchor Hole Planning Prior To Concrete Pour
Your design engineer will plan the number, type, and location of anchoring bolts during the design of your building. The designer has to consider the local building code and account for any additional risks posed by the nature of the building site. Design engineers will specify the exact manufacturer and model of the anchoring system to be used.
The most significant damage to foundations and filled cavity walls is as a result of water ingress. The water can freeze, expand and cause the concrete to crack and weaken. The strength of the anchor bolt can be compromised and lead to catastrophic failure in the event of a severe storm.
Use the design drawings to mark out the location and type of anchor bolt to be installed on the top of the cinder block wall. The reinforcement steel and boxing for the foundation pour can also be marked where anchoring bolts are installed. The anchor bolts must be prepared and laid out before the concrete pour.
Each anchor bolt will have a washer and a nut to tighten the framing:
Cut pieces of framing timber to the width of the cinder blocks or the foundation boxing. Drill holes in each piece of wood for the anchor bolt to fit through and place the washer and nut about one and a half-inch from the top of the thread.
Ensure that you have sufficient thread below the nut to allow for tightening down the nut once the framing installation commences. Now lay each anchor bolt system with the piece of framing wood, washer, and nut at each installation point.
Review the dry installed anchor points with the framer to ensure that they are correctly located according to the framing drawings and that the spacing between anchoring points is not too big. Also, ensure that all critical points along the wall are correctly laid out. Pay specific attention to corners and vent openings.
Specify that the concrete must be made to be runny and not set too fast during the pour. Ensure that the supplier understands how you would like the concrete mix to be to make the job of pouring and tamping it into every fill cavity as easy as possible. If the concrete mix is too dry, it is very hard to fill the pour cavities, and if it is too wet, the strength of the concrete may be compromised.
With all the preparation work done in advance, the focus on the day of the concrete pour can be to fill the pour cavity effectively and tamp down the concrete to flow and fill the foundation or cinder blocks properly. Use the markings on the cinder block sides to confirm the location of each anchor point tie-down.
Ensure that the anchor bolt is in the center of the cinder block cavity and is completely perpendicular. The framing wood must be placed across the width of the cinder block with the washer and nut located on top of it. Ensure that the anchor bolt, washer, and nut are clean of any concrete that may have spilled.
Once the concrete has been set, you can remove the piece of framing wood used to create the space for the tie-down lumber. Replace the washer and the nut and clean any concrete off the threads of the tie-down bolt.
How To Install Anchor Bolts In Your Concrete Foundation
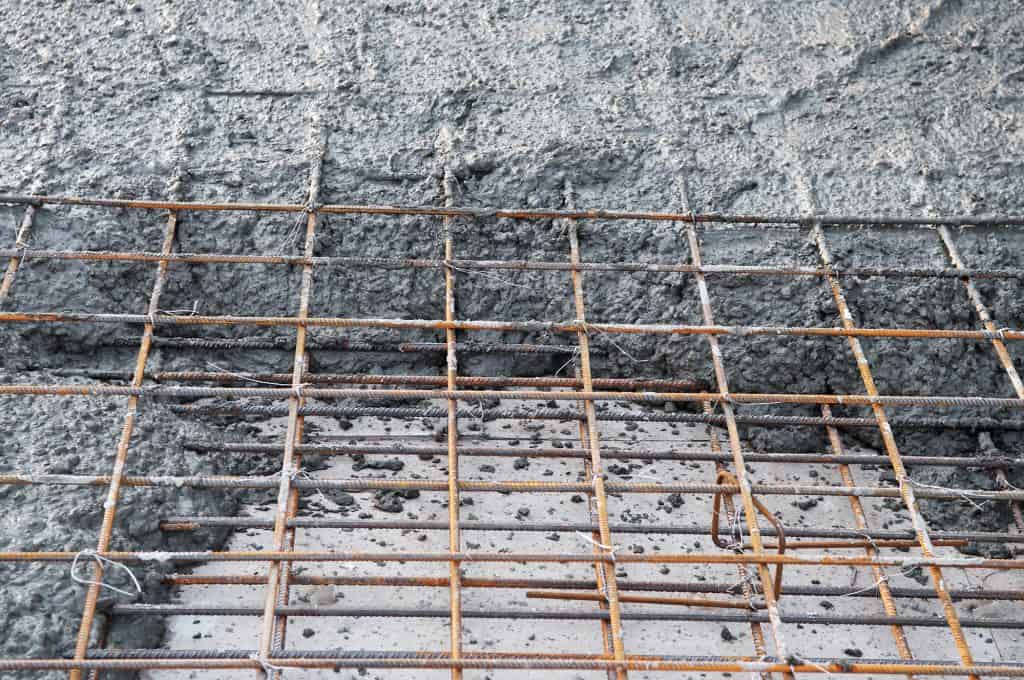
The design drawings for the concrete foundation must contain detail about the location type of rebar reinforcement and anchor points. The design engineer will define the gauge, type of rebar, and anchor bolts. Once the foundation trenches have been dug and the lumber boxing installed, the position of each anchor bolt must be marked out on the steel rebar reinforcement.
The length of each anchor bolt and how high the threaded bolt must protrude above the surface of the concrete must be measured and marked on each bolt. The anchor bolts should be tied to the rebar with wire in the exact location and depth. It is a good practice to cut some two-by-fours into lengths of eight inches and to drill a hole for the top of the anchor bolt to fit through.
Place a piece of two-by-four on each anchor bolt and add the washer and nut. Ensure that a sufficient length of the threaded bolt remains above the surface of the concrete. Review the dry installed anchor bolts with the project framer to ensure they are not located at points where they will cause interference.
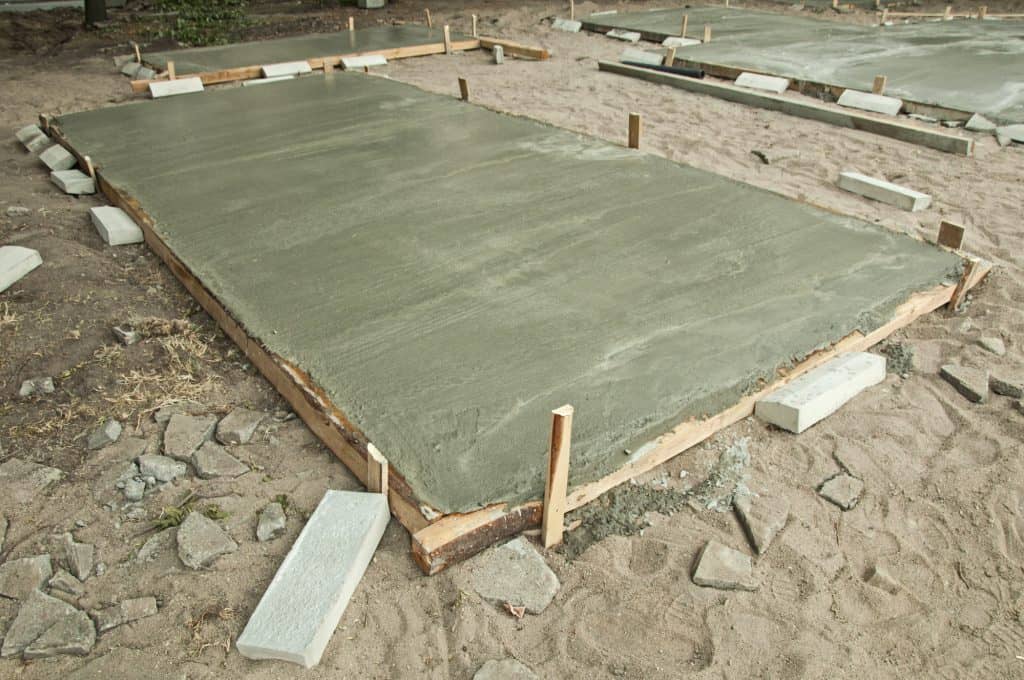
Once the concrete foundation has been poured, ensure that each anchor bolt is sufficiently covered and well embedded in the wet concrete. Ensure that the two-by-four spacing block is seated on the concrete surface. Installing additional anchor bolts or moving anchor bolts once the concrete has been set is an arduous process.
Once the concrete has cured for a few days, you can undo the nut and remove the washer and two-by-four spacer. Clean any concrete off the threaded section of the anchor bolt, replace the washer, and tie down the nut. Your next step will be to start with the waterproofing and framing above the foundation.
How To Fill/Install Anchor Holes In Cinder Block Walls
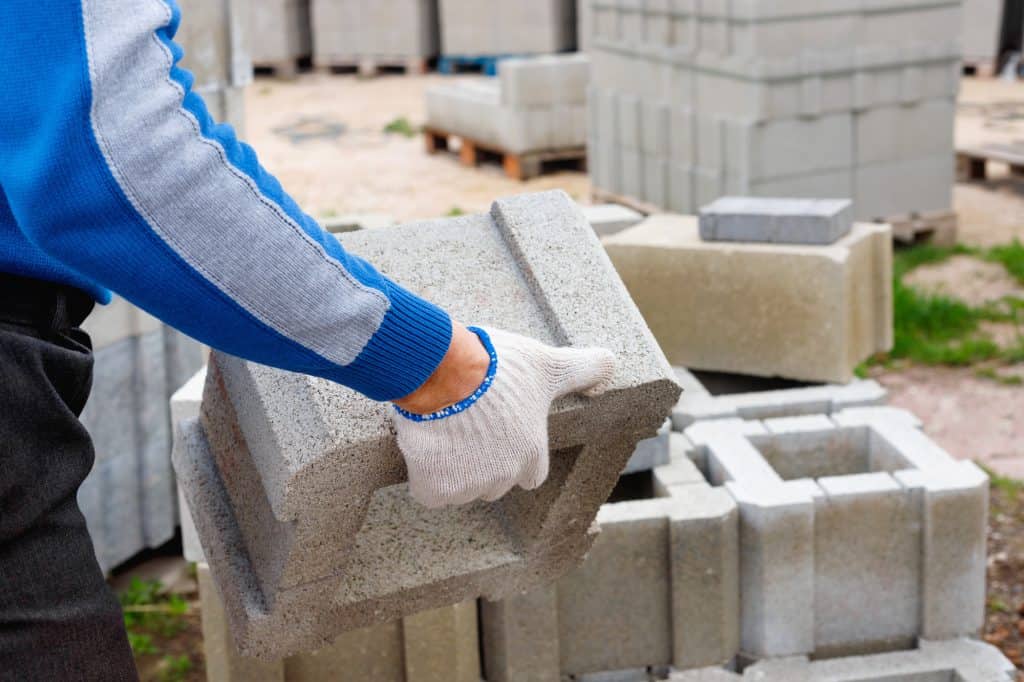
A concrete-filled cinder block wall is often built on a concrete foundation reducing the risk of rising damp creeping into the wooden frame structure. A cinder block wall can be built on the concrete foundation to lend additional strength and waterproofing to the structure.
The cinder block wall must be filled with additional rebar reinforcement filled to the top with runny concrete to fill all the cavities in the cinder blocks. The engineering drawings will specify the location and type of anchor bolt tie down with which the framing must be attached to the top of the wall.
Use the information from the engineering drawing to mark the location of each anchor bolt on both sides of the top cinder blocks. Double-check with the framing installer that the anchor bolt installation points are correctly located to not interfere with the frames.
Make up each anchor bolt with a section of two-by-four wood with a hole drilled through it and a washer and tie-down nut. Leave about two inches of the threaded bar above and below the nut and washer. Move the two-by-four spacer up against the washer and tie it in position from below with some wire around the threaded bar.
Dry install each of the prepared anchor bolts into the marked locations on the top layer of the cinder blocks. Ensure that the installed anchor bolt is not moved during the pouring of the concrete. The wet concrete must be pumped into the cinder block cavities and stand a bit proud of the top cinder block.
Use a metal rod to work the wet concrete into the cavities and ensure that each anchor bolt is well embedded to the correct depth. The two-by-four spacer block must sit on top of the concrete surface and not be embedded. Allow the concrete to be well cured before removing the tie-down nut and washer and removing the two-by-four spacer block.
Clean any concrete splatter off the threaded bar and place the washer and tie-down nut back on the anchor bolt. The anchor bolts are now located in the specified positions and protrude sufficiently above the concrete filler to allow for the framing to fit over the anchor bolt with sufficient thread to allow the framing to be firmly tied onto the wall.
Conclusion
If you have to drill into hardened concrete foundations or concrete-filled cinder block walls to embed anchor bolts, then your planning has let you down. There is no better way to position and secure anchor bolts than by dry-fitting them into position and then pouring the concrete around to get the strongest anchor point.
There are several other methods of securing points to concrete or concrete-filled cinder block walls, but they are not appropriate for the attachment of anchor bolts. The integrity of the building is determined by the strength of the foundations and foundation walls. The framing must be fixed to the foundations in the most secure method possible to protect the building against severe storms and water ingress.