In a previous article we discussed when to use grout, when you should go for caulk and when a silicone base is necessary for filling gaps. We also mentioned that over time, grout tends to develop cracks in many cases – especially if applied in the wrong place. Sometimes these cracks are rather prevalent, while most of the times, these are just hairline cracks.
But are these hairline cracks in grout normal, or is there something you need to worry about? Should you rush to repair the same or can you afford to leave these hairline cracks in your grout lines?
Hairline cracks in grout lines can occur because of a wide variety of reasons. From improperly cured grout all the way to the tiles not setting properly, or simply because you applied it between the wrong surfaces. While in most cases these cracks are benign, sometimes repairing them becomes essential in ensuring the structural integrity of your walls or floor.
Let’s take a closer look at all these factors.
Why Are There Hairline Cracks in Grout?
As mentioned above, hairline cracks in grout may be because of several reasons; some of them being very apparent while some may be remote and obscure. One of the most common reasons for these cracks is improperly cured concrete underneath, insufficient tile adhesive in the tiles around, or the expansion or contraction of the surfaces between which grout is applied.
This is why it isn’t recommended that you apply grout between tiles and cabinets, but only between tiles.
Unfortunately, there aren’t any specific tests to check what the exact reason for these cracks in grout is. Grout cracks are most common between bathroom tile grout, kitchen backsplash, or if your roof has tiles.
Before you pick up your monocle and go all Sherlock Holmes on your tiles, though, it is important to note that age plays an important role in developing cracks between tiles as well. Grout usually lasts from 15 to 20 years depending on how much maintenance it is getting and where it is applied.
For ceramic tiles, this duration reduces to 13-16 years. When determining when it’s time for you to replace the grout you have applied, consider the aesthetics as well as the intensity of cracks in grout lines, along with where these cracks are developing.
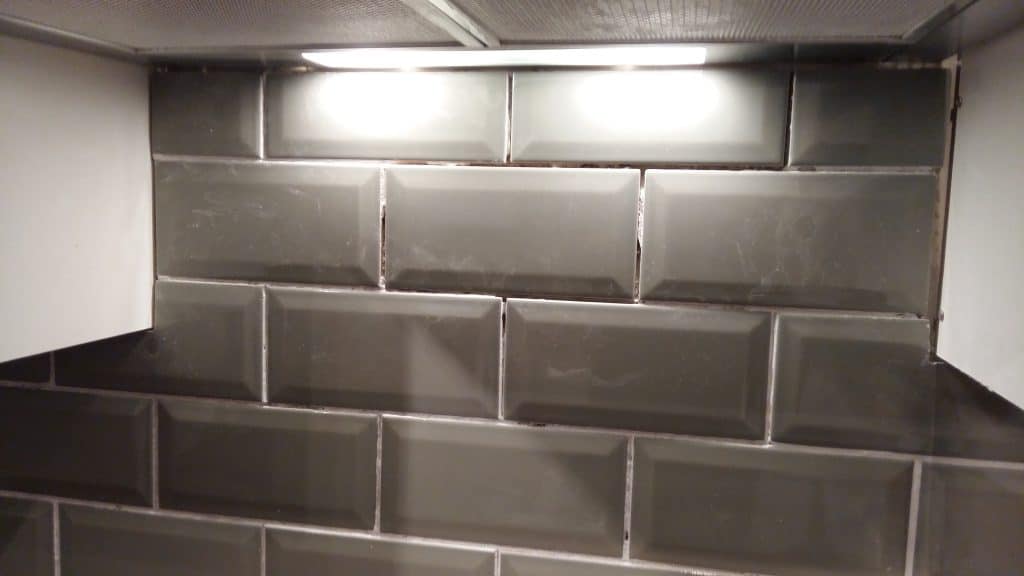
As a general rule, grout cracks in bathrooms should be fixed as quickly as possible, including hairline grout cracks. The first place you should look at when inspecting for hairline cracks is where perpendicular faces join, i.e., corners (horizontal and vertical).
Location, Location, Location
You can get a very good idea of why the grout is cracking based on their location. For example:
- If you see grout developing cracks in joints, it is most likely that it is because of the movement between these surfaces. For example, if the floor is wooden and the wall is concrete, the wood will expand and contract with respect to the weather; effectively leading to cracks in grout (and in the worst case, cracked and tenting tiles). A similar concept can be observed where walls are drywall and the floor is concrete, where drywall connects to cabinets, or even where drywall connects to drywall!
- If you see grout in bathroom developing cracks, these are because of the increased humidity. The increased water content results in the drywall expanding while the bathtub or floor remains in its place. Additionally, water ingress can also lead to cracks developing in grout.
- If the cracks you see are round-ish or concentrated in patches, you can expect the rest of your grout to develop cracks as well. It is because the grout mixture you applied had too much water or additive. These additives leave air pockets within the grout as they dry out, resulting in a weaker and more brittle mix (and hence the cracks).
- If there is a single, long hairline crack in the grout extending along the length of a tile around it, it is because the adhesive used when installing tiles wasn’t enough and that the tile(s) is resting on top of your grout. Be VERY careful when removing grout in these locations.
- If you find that the grout is falling out and has become very brittle, it could either mean that its life is over (15-20 years) or because of rapid moisture content changes.
- And the last factor; if you see that the grout has expanded and has begun crumbling, it might be because you didn’t give it enough time to dry out. For anywhere other than bathrooms, grout needs at least 24 hours to solidify. In bathrooms, showers, and bathtubs, you should give the grout at least 36 to 48 hours.
The list above clearly shows that hairline cracks in grout are completely normal, but in most cases, they are a result of poor installation technique(s). If your house is under warranty or if you have recently moved into a new construction home, you can call the contractor to get the same repaired.
What’s the Worse That Can Happen?
Hairline cracks in grout are, in most cases, benign. However, in rare cases and if left exposed for too long, these cracks can ultimately lead to a long list of problems. You should endeavor to repair these cracks as soon as possible, regardless; not just because of the structural integrity but also to reinvigorate your house’s aesthetic appeal.
When considering whether the crack is dangerous or not, the first thing you should consider is what caused the crack and where it is.
For example, hairline grout cracks in bathrooms have the potential to give water room to seep through, which can ultimately damage your drywall and facilitate the growth of fungi or mold. Since this will be happening behind your tiles, you won’t even know that your house is being eaten inside out until it’s too late!
If you clean tiles using chlorine bleach, you will see more cracks in the grout than an average person. This is because chlorine bleach is alkaline in nature, which means it dries out. When applied on top of the grout, it sucks out the water, leading to cracks or brittle grout.
If you are going to use bleach for cleaning, we recommend you use silicone-based grout.
Patching Up Hairline Cracks in Grout

While in most cases hairline cracks in grout are pretty normal, you should endeavor to repair these cracks as soon as you get a chance. The goal is to ensure that the current issue doesn’t end up getting worse.
Patching cracked grout is rather easy – even more so if you had applied a sealant. If you see cracks but don’t feel them when you rub your finger on top, your grout is cracked but the sealant is fine. In this case, you don’t really have to do anything.
If you feel scratches, but no cracks when rubbing your finger, shine a light on the seal at an angle (a 70-degree vertical angle works best) to see if it is a crack or a scratch. If you’re sure it is just a scratch, feel free to leave it as is or apply another coat on top just to be sure.
Repairing grout only works if it is cracked in a few, isolated areas. For hairline cracks, you have two options:
- Removing cracked grout and applying new grout.
- Patching it up with new grout. This isn’t a sustainable approach, though, and is just a band-aid solution.
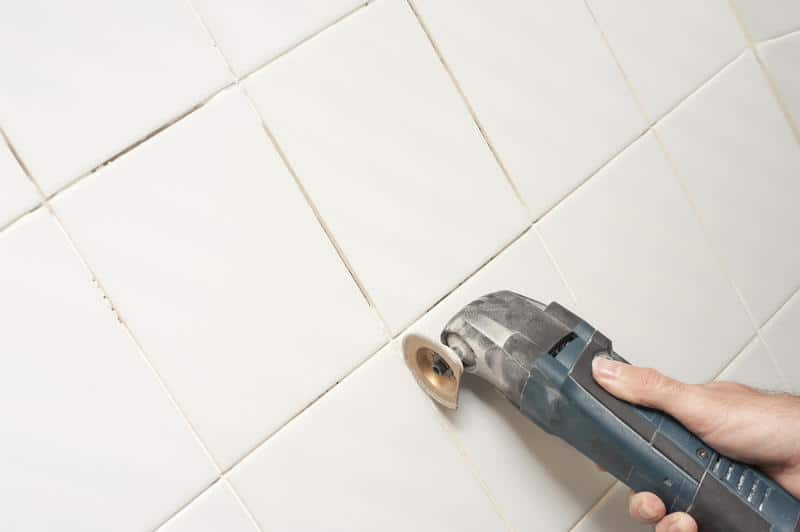
If the grout is crumbling completely, you have no other option but to pull it all out and apply new grout. To begin, remove all the grout as instructed in the previous article. Use a grout knife for best results. Vacuum the remains before applying a new layer.
When removing the old grout, check to see if there are any loose tiles that may be resting on top of the grout layer. As you continue to remove grout, you might just end up removing the tile as well.
Choose a replacement based on the surfaces between which you are applying the grout. For example, if the surfaces are likely to shift, use grout that is less likely to crack such as silicone caulk. Apply the grout as you would normally. For best results, follow the directions on your grout/caulk to the letter, even if it might feel counterproductive.
Remember, factors that may seem insignificant also play a major role in ensuring that the grout maintains its integrity. For example, the water content, how much to apply, whether you should stuff it in the gap or not, and more make a huge difference in the end result.