If you notice water leaking into your basement, you are probably very concerned. Water damage can cause tens of thousands of dollars in repair bills in just a few minutes, so it is important for you to put a stop to it as quickly as possible. Furthermore, if you have water coming into your basement, it could lead to the growth of mold and mildew in addition to damaging your walls and floors.
One reason why you might have water leaking into your basement is that there is a leak involving your outside faucet. The sooner you spot this issue, the faster you can get it fixed, which could help you save money on the cost of repairs. What do you need to know about water leaking from an outside faucet into your basement, and how can you stop it from happening?
Defining an Outdoor Faucet: What Are We Talking About?
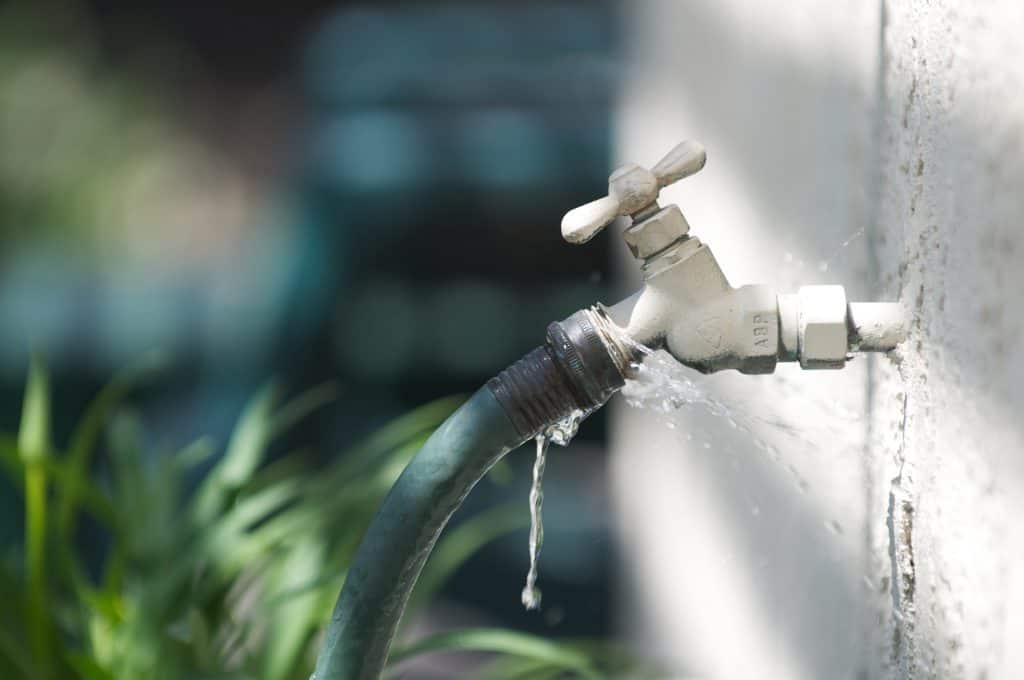
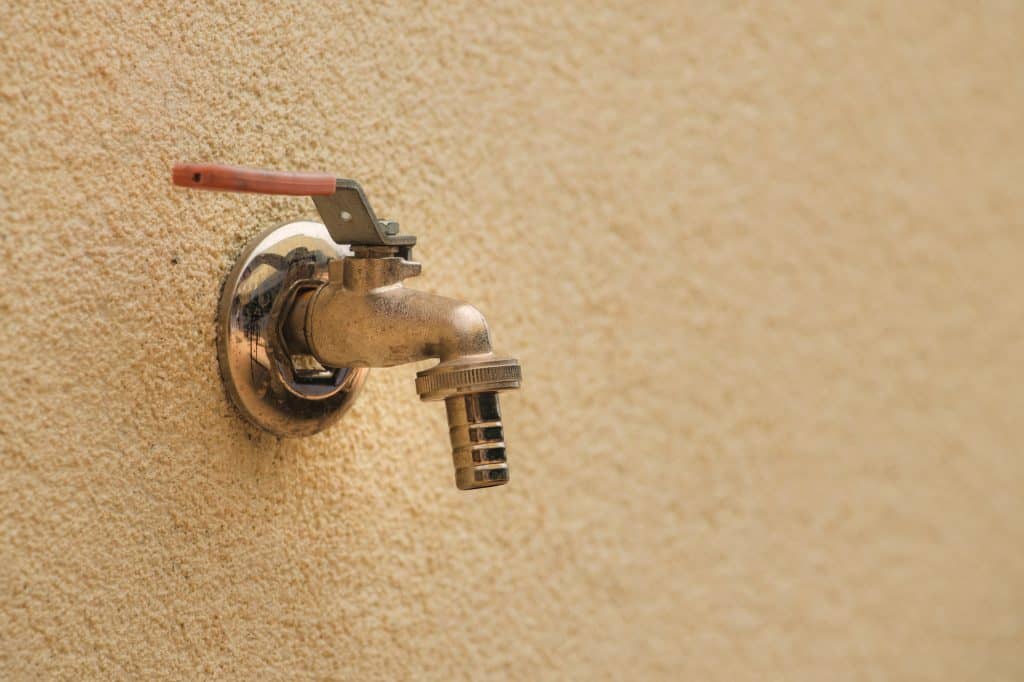
An outdoor faucet goes by several names. Some of the most common names include spigots, hose bibbs, and sillcocks. Simply, this is a valve that is responsible for regulating water that flows from your internal plumbing system to an outdoor garden hose. If you can hook up your garden hose (or another outdoor tool) and get water out of it, you are dealing with an outdoor faucet.
Sadly, because these are located outside of the house, they are vulnerable to a variety of hazards. This includes rapid temperature changes, potential animals, and accidents. As a result, there are several possible reasons why your outdoor faucet may start leaking into your basement.
Why Might Your Outdoor Faucet Start To Leak?
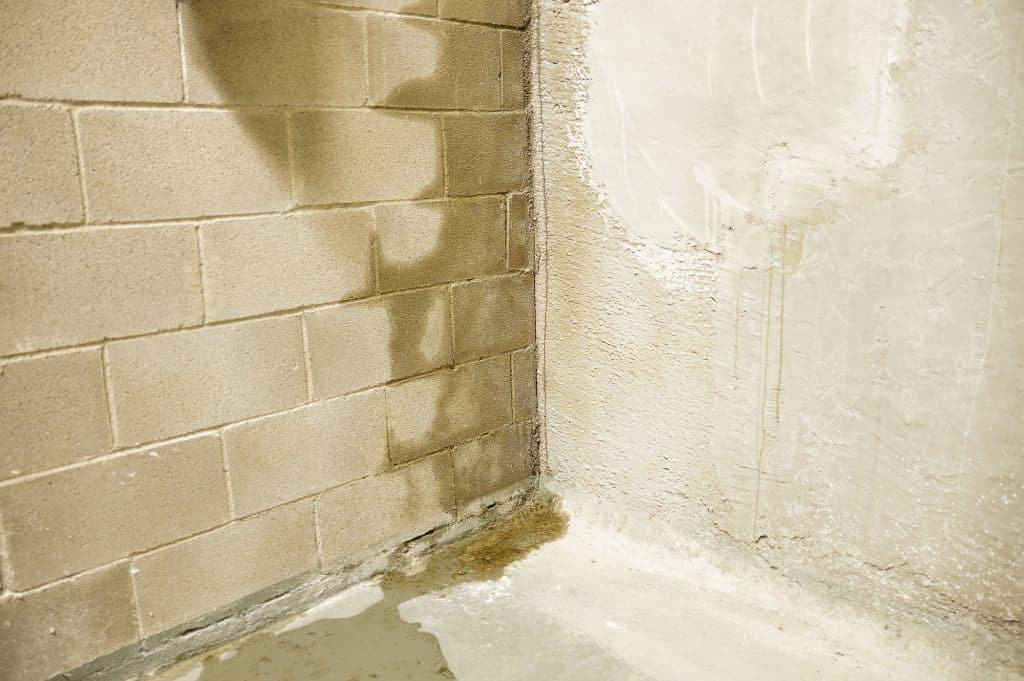
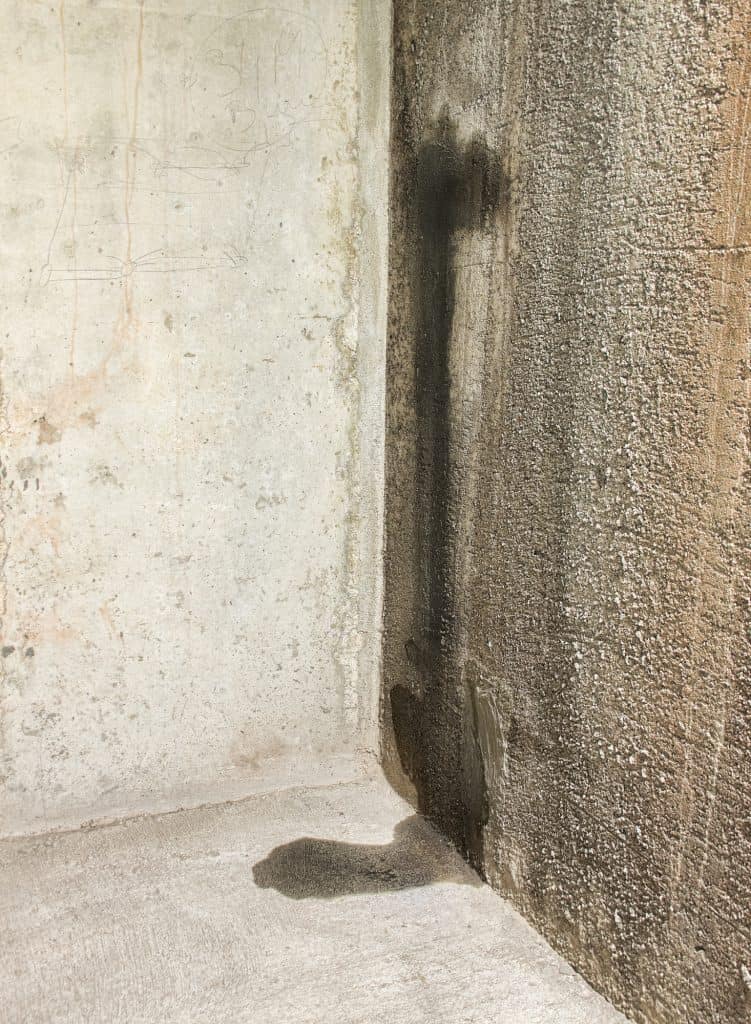
It is important to review the potential consequences of an outdoor faucet that is leaking into your basement. A few consequences that you should keep in mind include:
- Foundation Damage: This type of leak could cause damage to your foundation. In this case, that means the flooring underneath your basement. If the floor of your basement gets damaged, it could cause a foundation crack, which might cost tens of thousands of dollars to fix.
- Plumbing System Damage: If your outdoor faucet starts to back up, it could cause severe damage to your plumbing system. If the damage is particularly severe, you might even have to replace some of your pipes, which can get expensive.
- Mold and Mildew Growth: If you have water pooling in your basement, it could cause the growth of mold and mildew. Mold and mildew can release spores that can be hazardous to your health, particularly for people who have chronic respiratory conditions. Mold remediation is necessary to put a stop to this issue.
Clearly, there are a lot of consequences that could result from an outdoor faucet that is leaking. To address this issue, it is important to understand why it might be happening in the first place.
There are several reasons why your outdoor faucet might begin to leak into your basement:
Some of the common causes include:
- A Loose Packing Nut: There are packing nuts in the stem of your faucet that are responsible for regulating the flow of water between your plumbing system and the outdoor spigot. If one of the packing nuts has gotten loose, your spigot might have a difficult time aligning properly, which is why the faucet could end up leaking.
- Worn Out Washer: You also have a series of washers that are responsible for creating a seal around the faucet. If the washer has gotten worn out, then the spigot might start to leak. You may have to replace the washer if you want to put a stop to this issue.
- Frost Damage: Because your outdoor spigot is exposed to the outside world, there is a chance that it could freeze. Then, as it goes through multiple freeze and thaw cycles, cracks could start to develop in the spigot itself. This type of damage could cause your faucet to start leaking.
It is important to understand that just because you see your outdoor faucet leaking doesn’t necessarily mean that there is an issue with the head of the faucet itself. More often than not, there is a problem somewhere above the head of the faucet, and damage has developed involving the pipes.
It is particularly vulnerable during the winter, which is why you need to winterize it appropriately.
Fixing an Outdoor Faucet That Is Leaking Into Your Basement
If you have a leak involving your outdoor faucet, it is important to systematically go through the potential causes one by one until you identify the issue. Then, you can rectify it.
Fix a Packing Nut
If there is a problem with the packing nut, there are several steps you need to follow to resolve it. They include:
- First, you need to locate the packing nut associated with the spigot. Typically, you will find it just behind the handle itself.
- Next, you need to grab a pair of pliers. Fit them carefully around the packing nut.
- You should tighten the packing nut approximately a quarter of a turn. Make sure it is completely tight.
This is a relatively simple and straightforward process. Therefore, even if you think the packing nut is fine, you may want to check it to make sure it is completely tight. It is easiest to get a pair of adjustable pliers. That way, you can make sure that it fits completely around the packing nut itself.
Replace a Worn Out Washer

If you have followed the steps above, but you are still dealing with a leak, then there is a chance that one of the washers might be worn out. There are several steps you will need to perform to replace a worn-out washer involving your outdoor faucet. They include:
- You need to start by turning off the water to the house. Go ahead and use the shut-off valve to do so.
- With an adjustable wrench, unscrew the packing nut all the way. You will need to turn it counterclockwise to loosen it.
- Next, you need to remove the stem packing. You should be able to see the washer assembly once you do so.
- You will need to remove the screw holding the washer in place. After you unscrew it, take out the old washer.
- You should have a new washer ready to go. You need to make sure the washer is the same thickness, size, and diameter as the old one. That way, you know it will fit perfectly. Washers are generally inexpensive, and you should be able to find them at your local hardware store.
- After you put in the new washer, put the screw back in place. You will also have to reinsert the valve stem. Make sure everything looks exactly the way it was when you first loosened the packing nut.
- Make sure the retaining nut is completely secure. If the retaining nut is not secure, you may not fix the leaking faucet.
- Finally, you should turn the water main back on. Check the outdoor spigot one more time to make sure it is not leaking. If there is no water coming out of it, you know you have fixed the issue.
These two possibilities are among the most common reasons why you might have an outdoor faucet that is leaking. It is also important for you to winterize your outdoor spigot properly to prevent it from leaking during the winter.
Winterization Can Help You Prevent Leaks from Happening
It is also possible that your outdoor faucet might be leaking because it has been damaged by winter weather.
You may be fortunate and have an outdoor spigot that is frost-free. Essentially, this means that the sillcock is located deep within your house. Therefore, it is insulated against temperature changes, and it is far less likely to develop problems.
On the other hand, a standard sillcock will be situated near the handle itself. This leaves it vulnerable to the winter weather, and it could be why you have a leak coming from your outdoor faucet during the winter.
If you want to prevent this from happening, you need to winterize it appropriately. There are several steps you need to follow. They include:
- You need to start by removing the water device from the hose bibb itself. If you have a sprinkler or hose connected to the outdoor faucet, you should go ahead and remove it.
- Next, you should close the shut-off valve for the individual hose bibb or sillcock. If you do not have one, you should go ahead and get one. It is critically important for preventing problems from happening, particularly during the winter.
- After closing the shut-off valve, open the hose bibb. This is important for allowing any remaining water in the outdoor spigot to drain out. Your goal is to get out every possible drop of water.
- Once you are done, go ahead and close the hose bibb.
Ideally, your outdoor faucet should be slanted downward. That is important for making sure no water is able to be trapped inside the spigot itself during the winter. The problem is that if the water in the spigot is allowed to freeze, it can expand.
As a result, it could cause cracks to develop in the individual elements of your plumbing system, leading to major concerns.
When To Reach Out to a Professional
Even though you should be able to address many of these problems on your own, you might be wondering when you should reach out to a professional. They include:
- If you have addressed issues with your packing nut and washer, but your outdoor spigot is still leaking, it is time to reach out to an expert.
- If you have mold in your basement, you need to reach out to a mold remediation specialist. You may be able to kill the mold you see, but there is a chance that there could be mold in other areas of the basement as well.
- If you want to swap out your outdoor faucet with one that is frost-proof, you should consult an expert to make sure you have the perfect match for your plumbing system.
By following these tips, you can prevent problems from happening with your outdoor spigot.