
If you’re looking to upgrade your walls from lath-and-plaster to drywall, you’ve likely found yourself asking: “Can I drywall over lath and plaster?” The answer is yes—you can replace that outdated surface with a much more modern material.
But don’t get too excited yet. It isn’t as simple as throwing up some new drywall and calling it good.
If you want to make sure the job is done right, there are a few steps you need to take. In this article, we’ll tell you all about them.
We’ll talk about the materials and tools you need, walk through the process step by step, and discuss any areas of caution or special attention you should give when drywalling over lath and plaster. Ready? Let’s do this!
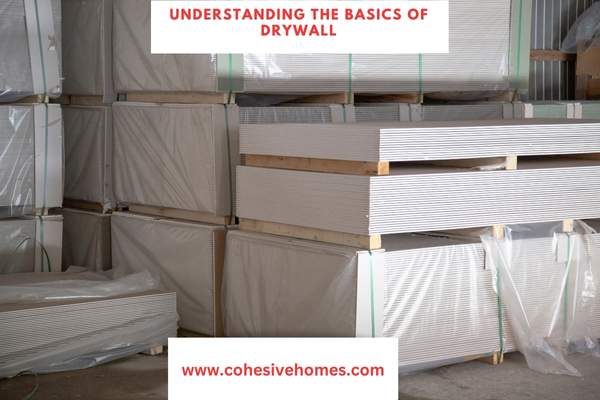
Understanding the Basics of Drywall
When it comes to drywall, the possibilities are nearly endless.
But what happens when you want to drywall over lath and plaster?
Before you go any further in the process, it’s important that you understand the basics of drywall.
Let’s break it down. Drywall is usually a layer of gypsum sandwiched between two pieces of heavy paper that is then nailed or screwed to wall studs or furring strips.
When plaster is present, a metal or wood lath is also present and serves as a backing for the plaster finish coat.
If your room already has dry wall installed over lath and plaster, you will have to first use a hammer and chisel to remove the plaster from around the edges of the wall until you expose all of the lath underneath.
Once all of the lath is exposed, you can begin preparing for the installation of new drywall.
By understanding these basics before beginning your project, you will be well-equipped to get started on your wall renovation and make sure that your walls come out looking as good as new!
Preparing Your Room for Drywall

Before you start drywalling over lath and plaster, you need to prep your room. This includes properly collecting your tools and materials, removing any existing wallpaper, removing any baseboard trim, patching holes or cracks in the walls, and overall preparing the surface of your walls for drywall.
For best results:
- Start by inspecting your walls for any loose plaster or debris that may have come loose previously. If you find that there are any serious structural issues with your walls, consult a professional before tackling the job yourself.
- Next, using a sanding block or belt sander, lightly scuff up the surfaces of your lath and plaster walls to create a more even surface when you install drywall. This can help improve the adhesion of the new drywall to the existing surface.
- Once complete, vacuum and wipe down the surfaces of the walls with a damp cloth to remove any dust left behind from sanding.
- Finally, temporarily cover plumbing outlets to help protect them while you’re completing this task.
With these steps in place, you’re now ready to begin drywalling over lath and plaster!
Establishing a Solid Foundation for Installation
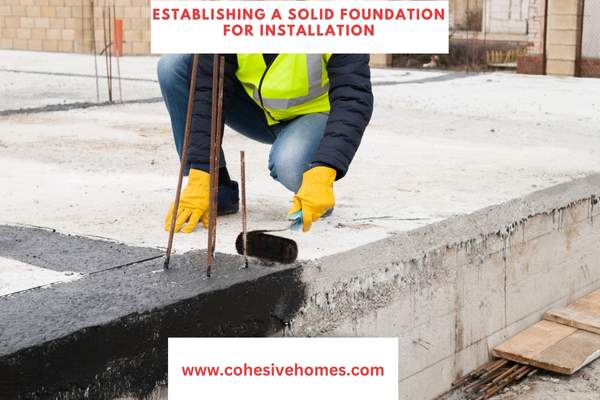
Fortunately, you can drywall over lath and plaster. Before you start the installation process, though, you’ll want to create a solid foundation underneath it.
The number one thing you want to do is check for any loose plaster or crumbling laths.
If they’re in bad shape, they need to be repaired before anything else happens.
Preparing the Area
Once you’ve taken care of any unexpected repairs, it’s time to prepare the area for drywall installation. You’ll want to:
- Remove anything that protrudes from the wall surface, like moldings and trim.
- Patch any cracks that may have developed in the plaster or lath material.
- Secure the laths with screws.
- Apply a coat of primer sealer over any exposed wood fibers, such as those from the lath.
- Make sure your walls are free from dust and debris.
- Check that your overall wall area is even.
Doing this is important for ensuring that your new drywall will adhere properly and last for years to come!
Hang Drywall Over Existing Lath and Plaster

Hanging drywall over existing lath and plaster surfaces can be done, but it will require a few extra steps.
Before you begin, make sure that your current lath and plaster are in good condition, as any damage or deterioration may cause structural issues in the future.
Here’s what you’ll need to do:
- Cover the existing lath and plaster with a layer of drywall mud or joint compound. This will help create a smoother base for the drywall to be hung on.
- Install a layer of drywall tape directly over the compound. Make sure that the tape is applied evenly and without wrinkles or bubbles.
- Apply another thin layer of joint compound over the tape, then sand it down until it’s smooth to the touch.
- Hang your pieces of drywall onto the lath with screws, then seal all seams with joint compound and let them dry for 24 hours before sanding them down again.
- Finally, paint your newly installed walls so they look like new!
By following these steps, you can hang drywall over lath and plaster surfaces relatively quickly and easily—just make sure that you take extra care to ensure a tight bond between each piece of drywall so that you have strong, secure walls for years to come!
Finishing Touches for Perfect Results

If you’re looking for a good drywall job, there’s one key step you can’t skip: the finishing touches.
Once you’ve got the plasterboard up and leveled, you need to tape and mud the joints to make sure everything flows together.
Here’s how you can do it:
Taping
For an invisible seam, use fiberglass mesh tape over the joint. This tape bridges the gap between two pieces of drywall and helps keep them in place.
Use a 6-inch knife to spread your joint compound evenly over the tape, and then scrape off any excess with a 10-inch knife.
This will give you a smooth surface that can easily be painted once it dries.
Mudding
Filling small holes with spackling paste is an easy way to patch up uneven surfaces or fill any gaps or cracks before painting or wallpapering over them.
When filling larger holes or cracks that are too deep for just spackling paste, use joint compound instead—but only after using mesh tape to bridge the gap between two pieces of drywall.
Spread your joint compound with a 5-inch taping knife and scrape it off once it dries with a 10-inch knife for perfectly smooth walls.
The finishing touches are essential to making sure your drywall job looks professional, so don’t forget to take that extra step!
Troubleshooting Tips for Unanticipated Issues

You might run into some issues when drywalling over lath and plaster. The most common one is that the plaster will be too thick, but don’t worry. There are a few ways to deal with these issues.
Ensuring a Flat Surface
When the plaster is too thick, you will need to skim coat the lath and plaster so that the surface of your wall is level.
You can use a layer of joint cement or paper drywall tape to make sure everything is level before you begin drywalling over it.
Sealing Cracks and Openings
Before you can begin drywalling over your lath and plaster, you’ll need to seal up any cracks or openings.
Use joint compound or latex caulk to fill in any gaps between two pieces of wood.
This will ensure that air cannot leak through any holes in the wall.
Inspecting for Electrical Wiring
You should also inspect for any electrical wiring before starting your project, as this can be hazardous if not done correctly.
Have an electrician look at all your wiring and make sure it’s safe before doing any work on your walls.
If you take the time to properly inspect, seal, and ensure a flat surface before attempting drywall over lath and plaster, then chances are that you won’t run into any problems.
Just take your time, use caution, and follow safety protocols, and you’ll be successful!
Conclusion
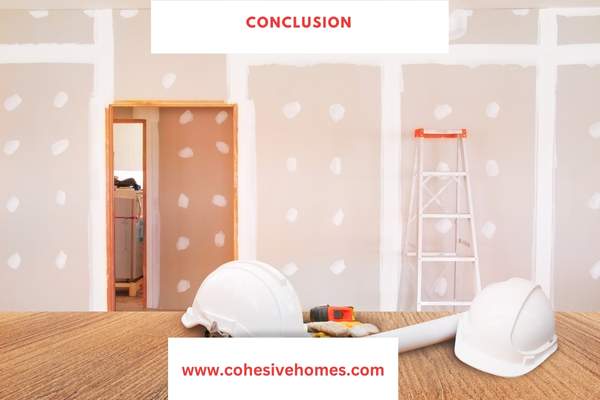
In conclusion, it is possible to install drywall over lath and plaster, but it is a complex process that requires you to take multiple steps.
You must first remove any loose plaster and inspect for water damage and weak spots in the lath.
Next, you’ll need to fill in any gaps between the lath and plaster with a latex caulking compound.
Before you hang the drywall, you’ll want to make sure the nails are securely affixed to the lath and that the joints are sealed with mesh tape and joint compound.
Finally, it’s important to go over your work and check for signs of wear or damage.
Even with all of these steps, drywall over lath and plaster will have a shorter lifespan than drywall installed directly to studs.
For this reason, it may be best to hire a professional with experience in drywall over lath and plaster.
FAQS
Can you drywall over lath and plaster?
Yes, but check the condition of the existing lath and plaster first.
What are the benefits of drywall over lath and plaster?
Smoother surface, insulation, and soundproofing.
What are some considerations when putting drywall over lath and plaster?
Ensure the lath and plaster are secure; add studs or furring strips if necessary; and check the weight capacity of the structure.