It’s one thing to splice a Romex cable or any other non-metallic cable that can be used to power most of your everyday appliance. However, when it comes to heavier wires, such as a 220 volt or 200-ampere wire, the sheer size of the wire can put doubts in the hearts of many. (Site note: for a refresh on the distinction between volts and amps, our article on power adapters covers towards the beginning).
You don’t find yourself in this odd position, wondering if you can splice or join heavy-duty (200 ampere or 220 volt) wire, so it’s natural to be a bit confused. Since it’s not common for these wires to wear out or need replacement, it’s natural to hesitate before making a final decision and wonder if its okay. Well the shrot answer is:
Yes, you can definitely splice or join heavy-duty (220v/200 amp) wires instead of rewiring the entire run. You will need a heavy-duty junction box for this, but yes, there shouldn’t be any problems with the setup.
Warning: We don’t advise beginners to undertake the venture, though. You should have intermediate to advanced skills when handling such wires along with basic electrician tools. Do NOT skimp off of the safety measures, even if you have turned the main off.
Can You Splice or Join Heavy-duty Wires – The Details to Consider
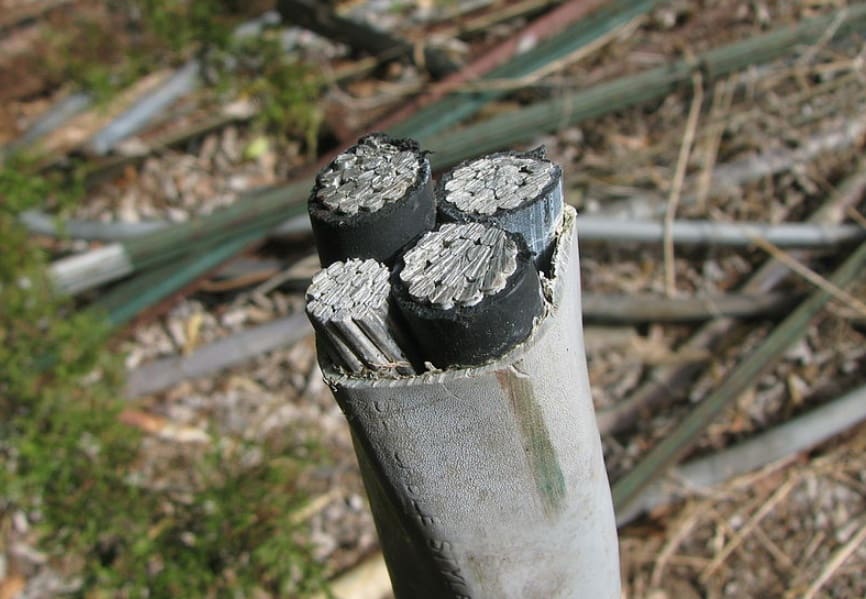
If your 220 volt or 200 ampere wire ever gets damaged or gets cut, you will find that the biggest issue that arises is understanding how to handle the numerous wires that run inside it. After all, it’s most likely coming directly from your breaker box. If it gets cut in the middle somewhere and the colors are hard to identify for some reason of it there is already a joint in the middle, understanding which wire goes where can be a bit difficult. This is particularly true for older wires.
If you find that your 220 volt or 200 ampere wire or panel is already spliced or has a join in the middle somewhere, we sincerely recommend that instead of adding another join and damaging the integrity of the wire (and effectively turning your wire into a ticking time bomb) you should simply rewire the run.
Another possibility where you might need to splice or join heavy-duty wires together is to run a new wire from a point and install something new. Do not try to run a wire directly from the transformer. Not only will you be breaking every rule in the book, but you will also put your own and others’ life at risk while doing so.
Let’s get into a bit more detail. Once you cut the wire, the main problem you’ll face is there the junction box or panel installed by your contractor (or if you bought a new box and didn’t know what you were doing) will most likely not have any ground screws on the box, which will most likely leave you stretching your head (yeah this happened to us as well on our first go). What should you do with the ground wire in this case?
Should you simply cut the ground wire off since it has nowhere to go?
Furthermore, you will also find two hot wires (red or sometimes black wires) and a neutral apart from the ground wire (in most cases). We recommend using a tester to identify which wire is the hot one first. Let’s consider what you can do in this case and how you should go about splicing the wire.
Splicing Heavy-duty Cables
As mentioned above, we recommend that beginners don’t try to splice the wire unless supervised. This is a job for people with intermediate to advanced electrician skills. If you ask us, it is best you hired a skilled, licensed electrician to handle the job, but we understand the appeal a DIY-er has to do the job on their own.
Tools
You will require the following tools;
- A voltage tester or a voltage indicator
- Insulated screwdrivers. It is particularly important that you only use insulated screwdrivers for this task, considering you are about to work with a 200 ampere wire, albeit turned off.
- Side cutters/pliers
- You may or may not need a wire stripper. It entirely depends on the type of wire you are looking to splice. Most 200 ampere wires usually need a wire stripper
- A battery drill. This is for the panel/box you are going to install and is purely optional
- Splices
- Utility knife
- Some electrical tape
- A heat gun
The tools mentioned above include everything you will ever want whenever you are splicing any cable and constitute the “perfect electrician’s pouch.” The splicing process should take you about 3 to 5 minutes but this time depends entirely on skill, how thorough you want to be, and more importantly, how difficult it is to access the old wire.
A key consideration to make here is that ONCE YOU SPLICE THE WIRE, YOU CANNOT CONCEAL IT UNDER THE DRYWALL (US) OR CONCRETE (UK). To learn more about this, we recommend you read our article on the topic.
Getting Started
Now that you have all your tools in order and are ready to get started, it is important that take a look at where the line is coming from, originally. Do no test the wire, do not even touch it yet. Identify the circuit and shut it off. Tag it with a note telling everyone that you are working on it and tape it, just to be sure. We recommend you apply the tag on top of the breaker itself.
Depending on the State you are in, you might have to seek permission to work on heavy-duty wires or installing additional electrical wiring into your house. You may also have to get a permit before getting started and get the wiring inspected after you are done.
Now, consider the wire you are going to use. It should be the same size, gauge, and most importantly, color as the original one (both inside and out). You can use the writing on top of your wire to identify whether the two match or not.
The best way to ensure your wires match (if the writing on top is covered or has disappeared) is to cut off a piece of it and take it to your local hardware store. Be sure to only cut the piece that is damaged. There is a handful of special material that you could choose to invest in, as well. These include, but aren’t limited to;
- Anti-corrosion ointment
- Insulation
- Blank cover.
Once you have the wire, inspect the insides and determine which ones are the hot wires, (2 wires) where the ground is (1), and the neutral (1). Remember, half of an electrician’s time is spent ensuring their own safety, ¼ is spend doing the actual work, while the remaining ¼ is spent checking for any faults, which may also include stress-testing.
Splicing
To splice, you will need to first expose the wires. Use your electrician’s pliers to cut and dispose of the damaged part. Make sure the cut is clean and quick. Simply insert wire between your pliers’ sheers and with one swift and powerful motion, cut the wire.
Cut just enough for the inner insulation to be visible. Take a look at the color codes of both wires and keep their positions in mind. For best results, strip the inner wires in such a way that you can still see a bit of color on each wire.
Expose about an inch of copper wire for each wire inside and twist the matching wires together. You can use a butt splice here for better results, but remember to only buy splices that can handle such heavy loads. Match black to black, red to red, white to white, and green to green, all while adding splices and heating them up or a strong connection.
You can use a bit of electrical tape on top of each splice. It might seem redundant but it actually ends up providing insulation to each wire, separating them from each other and effectively reducing the possibility of a short circuit.
Make sure every wire’s insides are equal. As for the ground wire, we recommend folding it up and leaving it in the junction box if there are no ground screws. Let it touch the wall if it tries (concrete only).
Cap off any unused wires instead of cutting them off. They don’t pose any threat.