Whether you’re making a small shed in your backyard, making your own patio, sidewalk, or building a complete house (bravo, by the way), what do you think is the most important aspect of your project? Everyone will have a different answer but if you ask us, we’d say it’s the foundation.
To ensure that a foundation lasts, it’s not just the material, but also the ground on which it is laid that’s important. The foundation must be on solid and level ground. Compacting and settling the dirt around and underneath it is essential for your building to remain sturdy. But how long does it take for dirt to settle?
If left to its own devices, it will take 7 years for dirt to settle naturally. However, if you take steps to compact dirt (which we recommend before you start laying your foundation), the process speeds up considerably. How considerably? That’s what we’ll discuss today.
The Mechanics of Settling Dirt
Time
You know how you hose down freshly added manure, compost, and even dirt added into your garden so that it settles?
The same principle applies to the dirt in your excavation. In a controlled environment, where the dirt isn’t subjected to condensation, rain, or any other external factors, the dirt won’t settle. It will remain there for years – even decades.
In your lawn or around your foundation, however, natural weathering processes will work on the dirt to settle it down and take hold. This usually takes around 7 years in temperate areas. Following is a table to give you a rough idea of the timeline you should be looking at depending on the climate.
| Climate | Estimated Dirt Settling Time |
| Moderate | 7 years |
| Hot & Humid | 7-9 years |
| Hot & Dry | 8-12 years |
| Cold & Humid | 7 years |
| Cold & Dry | 7-8 years |
| Rainy/Tropical | 1-4 years |
| Extremely Dry | 15+ years |
These observations assume that no dirt is being removed or added over time and that rain isn’t carrying it away, either. Leaving your dirt unsettled in a rainy area is a bad idea, by the way, and we strongly advise you against it.
It goes without saying that your construction or gardening plans, be they DIY or professional, might not allow that. Compacting dirt may become a necessity.
Classification of Dirt
Another factor to consider here is the type of dirt you’re looking to settle. Depending on the soil type, settling times can also vary. There are 6 types of foundations that you can lay for your patio, sidewalk, or home. Some are better than others, of course, but we won’t get into the specifics here.
Clay & Silt
Neither clay nor silt is the best soil to lay as or around a foundation in the modern world. Clay is an expansive soil that consists of tiny particles that join together when wet. Silt, on the other hand, doesn’t join, but does retain a lot of moisture. Both expand when in contact with water and become malleable, shrinking back down when dry. This can lead to cracks in concrete structures and even your foundation.
If left dry, clay and silt will settle rather quickly, i.e., 1-2 years. If they come in contact with water, they can settle in just a few months. However, we don’t recommend using these soils around your foundation for structures or your lawn.
Peat
Almost every DIY-er and gardener knows how important peat is for seedlings, thanks to the amount of water it can hold. This soil is formed with decomposed organic material and therefore, when in contact with water, it expands. When dry, not only does it shrink but it also becomes a potential fire hazard.
It settles fairly quickly when wet, i.e., within 5-6 months, but as it dries, it might cause your garden or structure to sink and develop cracks. This soil can be used as a foundation for your lawn, provided you took measures to avoid seepage.
Sand/Gravel
Moving on to foundation supports that are built to last, sand and gravel are the first, most cost-effective answer. They do not drain water very well, nor do they retain moisture. Instead, due to the smaller size of particles, seeping water rearranges them and therefore settles them down considerably.
Each time water passes through, dirt settles, thus giving you stronger foundation support.
When dry, the particles don’t have much friction and if left, it will take roughly 7 years for gravity to do its work. If you hose it down, though, the process can become a lot quicker. Be careful though! Dry sand and gravel lose their friction and can therefore be washed away. Too much water and you might start forming sinkholes underneath!
Loam
One of the most preferred soils for foundations and foundation support is loam. It is a combination of clay, silt, and sand. It doesn’t expand or shrink due to water. The sand content within allows it to settle easily while the clay and silt let it harden in place.
Usually, it takes around 7 years without intervention for this soil to settle.
The Trusty Rock
From limestone and bedrock to sandstone, these are considered to be the best foundation support. If large chunks are used, they don’t really have to settle. Just pour concrete, wait 28 days, and start constructing.
Compacting the Soil – How Much Difference Does It Make?
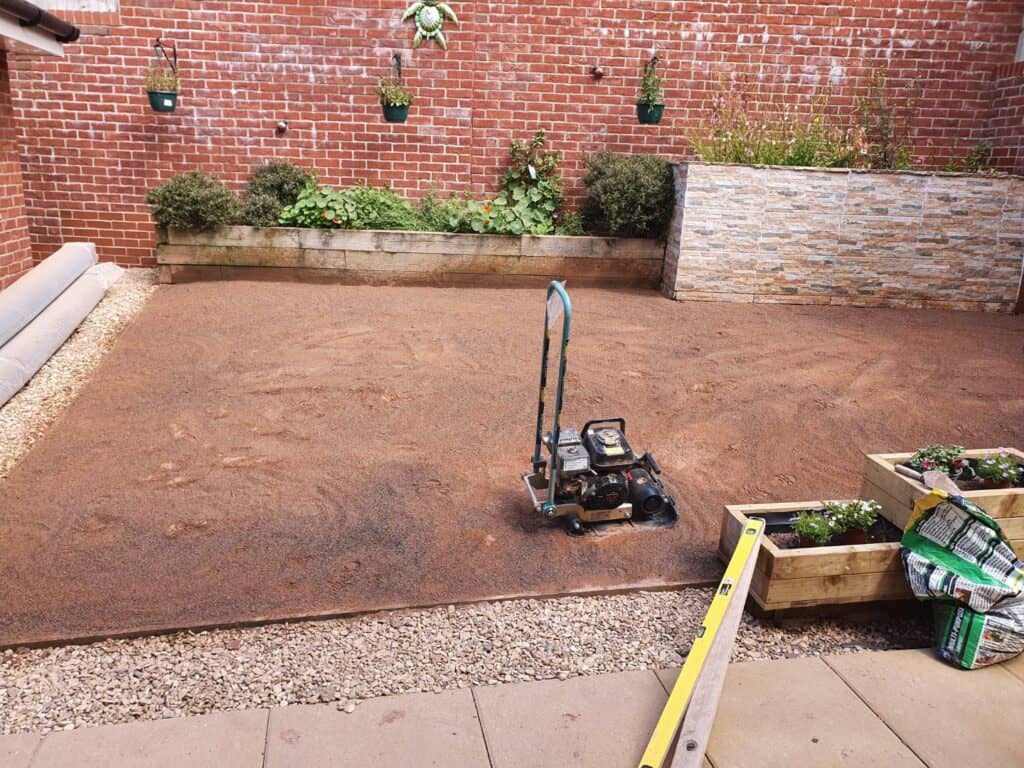
Most of you won’t be willing (or able) to wait that long for dirt to settle before you start working on your project. For that, you will have to explicitly compact the soil to the desired level. There are a wide variety of compacting devices available such as jumping jacks, rollers, plate compactors, and more:
If you’re asking how long it takes for dirt to settle before you can pour concrete, you need to compact the soil more than if you’re simply compacting it to plant seeds. There are several methods that you can adopt to compact both, dry and wet dirt, each with its own pros and cons.
With the help of compacting techniques, you can get the work of 7 years done in just a day (or two). You might have to give it a few passes, but you’ll start seeing results fairly quickly. For your garden, you won’t even have to spend a complete hour for compression and you’ll be done!
But a question remains; how much to compress? How do you know you’re done? How to measure compression?
Measuring Compression For Concrete – How Long Does It Take For Dirt to Settle?
There are several professional methods of measuring whether the dirt has compacted enough or not which involve using loaded dump trucks or something as drastic as nuclear density meters. However, as a DIY-er, you can’t (nor should you) get your hands on such equipment, right?
Instead, a good way of determining whether the dirt has settled enough is to dive a steel pin, large chisel, or a stake into the ground with a hammer. If it is hard to drive, your dirt is ready for concrete to be poured on it. By hard, we mean an inch or less driving in on contact.
You can also pick up some dirt and try to roll it in your hands. Try to roll it into a thread 3 inches long and ¼ inch wide. If you are successful, the dirt has too much water. If the dirt is struggling to stay clumped together, you’ve got it right.
Measuring Compression For Gardening – How Long Does It Take For Dirt to Settle?
A few rolls with your roller or rounds with the plate compactor later, try to stick your finger in the dirt. Try to keep it straight while doing so. Once in, try to bend your finger. If your finger bends in the dirt a bit too freely, it needs a bit more compression. Try to go beyond the topsoil for better results.
If, however, when wriggling your finger you experience slight resistance, you’re good to go!
The Typical Dirt Compacting & Settling Method
Before we conclude the article, we would like to go over the general method of compacting and settling dirt. Typically, it looks something like this:
- Ground excavation or removal of current dirt
- Wet the soil to reduce the dust. Use a water hose for best results instead of buckets
- Lay drainage pipes to reduce the risk of sinkholes
- Lay the foundation
- Lay a plastic or moisture barrier and set forms in place
- Set rebar and do anything else you need to
- If you’re using it for construction, it’s time to settle the dirt and pour concrete after it’s done. If you’re using the space for gardening, add the new dirt and then use your tools to settle it.
- Wet the soil to facilitate settling.
The factors and steps above should help you lay a strong foundation for your DIY project. Just remember to be thorough and to try out the test we mentioned above before going further. Happy digging!