Regardless of whether you are trying to add a new light fixture in your garage or are simply adding an outlet somewhere in your home, there is a chance that you are going to need to connect certain wires, extend a few cords, or reconnect your circuit. In this case, you may find yourself having to do some splicing.
You must be able to perform this basic electrical fix safely and efficiently. That way, you can save time, money, and protect yourself against electrical problems. If you are trying to complete this DIY project, you need to have the right tools and materials. Then, you have to follow the appropriate safety procedures. What are a few critical points you need to keep in mind? Make sure you keep yourself, your loved ones, and your property safe from harm.
Safety Must Come First
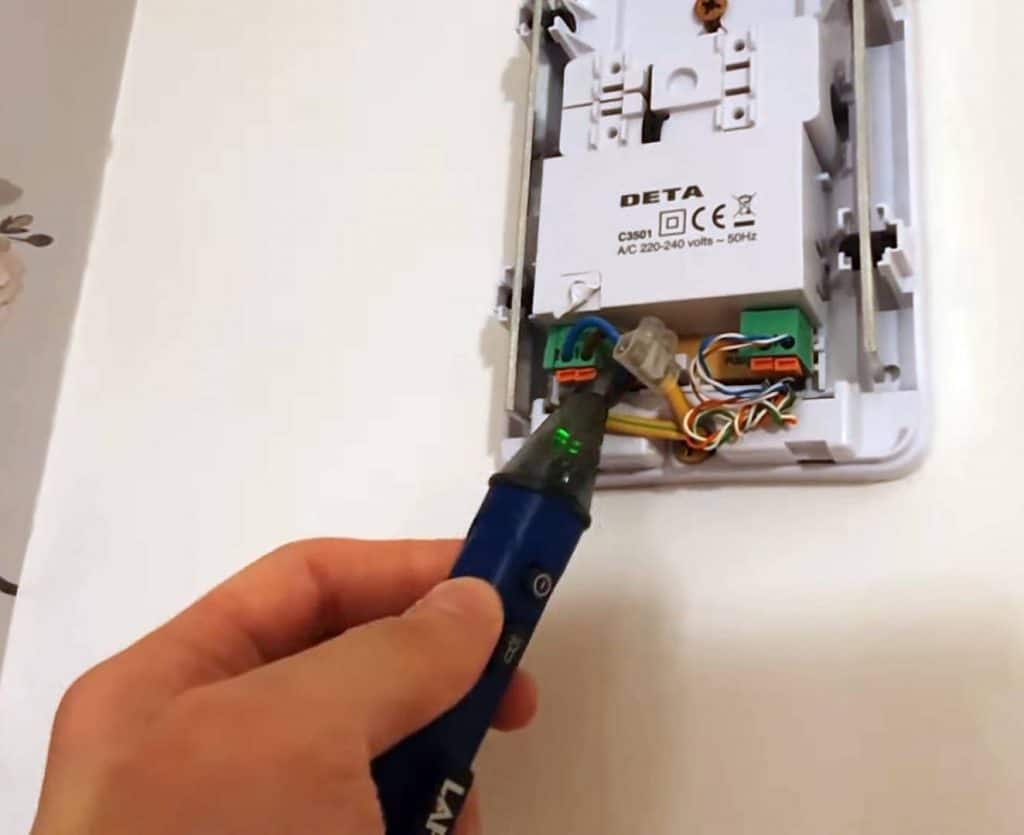
The first thing you need to do is make sure you can do this safely. Therefore, before you do anything else, you have to turn off the power to your home. You either need to shut down a specific circuit or remove power from the entire house. Then, you should use a non-contact voltage tester to make sure the electricity is actually off before you decide to touch a wire:
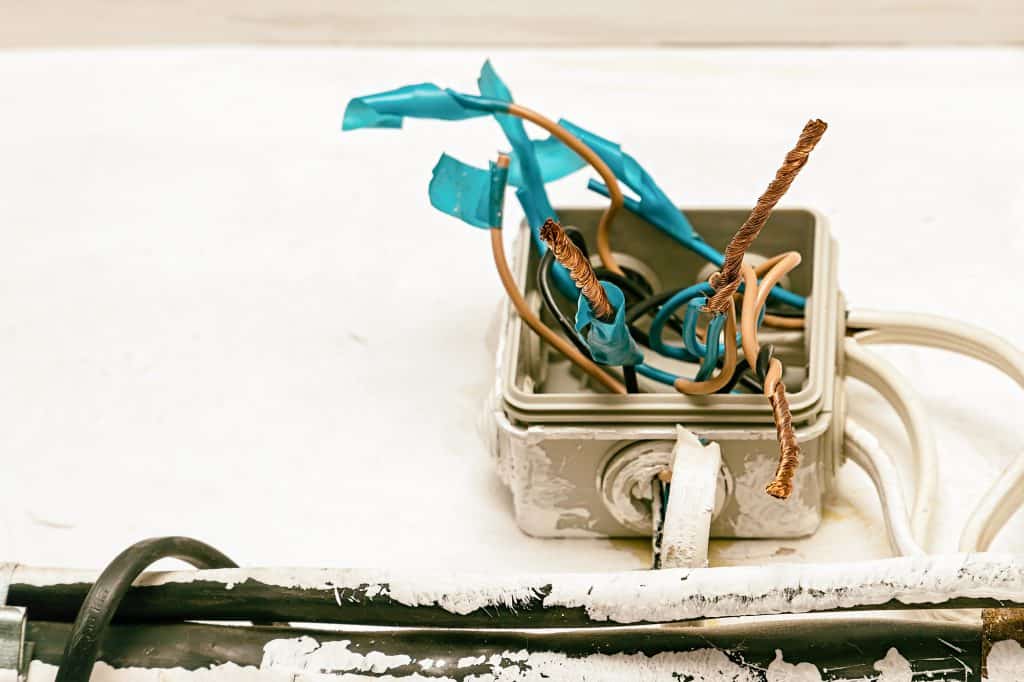
In addition, if you decide to splice some wires together, you have to make sure you have junction boxes available. These come in various shapes and sizes, so you have to think about completing the project. Then, you should make sure you have the appropriate junction box to make sure your splice is safe. If you need help figuring out which junction boxes best for you, reach out to your local hardware store.
Finally, before you start, you also need to make sure the wires you are putting together have the same gauge and number of wires. That way, they can quickly and efficiently transfer electricity to each other. You cannot join wires that are not the same gauge, as you are going to run into some serious electrical problems.
What Does it Mean To Splice a Wire?
If you are splicing wires together, you combine two separate lengths of wire so that they can carry a current for you. There are many ways you can splice wires together. In some cases, you may simply use a few wire caps. In other cases, you may try to solder them together. You might use a wire cap or nut if you are working with smaller wires; however, you may decide to use a butt splice if you are working with larger wires. What are the pros and cons of each method? There are several steps to follow.
Method 1: The Strip and Splice
The first option is to strip the wires and then splice them. Wires come with insulation around them. Before you splice them together, you may decide to strip the insulation. To complete this method, the steps you need to follow include:
- First, unplug the device that contains the wires you are going to be splicing. If the wire is attached to the wall and cannot be unplugged, always turn off the circuit. That way, you do not get shocked.
- Then, you need to remove approximately one inch of insulation from each wire you will be splicing. For this, you will need a wire stripper that is approximately one to two sizes smaller than your wire. Clamp the wire in the hole and pull the stripper towards the other end of the wire. This should remove the insulation.
- After this, you need to slide a small piece of shrink tube onto one of the wires. Approximately three inches of shrink tubing should be enough. A shrink tube is made from plastic. That usually shrinks after it is heated. Then, slide the tubing on the wire before you splice them together.
This is one of the easiest ways you can splice wires together.
Some of the main benefits of this method include:
- This is one of the least expensive methods available
- It does not take very long to splice wires together
- The shrink tubing should be durable enough to stand up the routine wear and tear
On the other hand, this method does require some physical dexterity. If you are not proficient with wire strippers, you may have issues. In addition, this method is probably not going to work well if you are working with larger wires.
Method 2: Try Using a Wire Cap
Another option is to try using a wire cap. A wire cap is something that will pinch two wires together for you. In order to use a wire cap, the steps you need to follow include:
- First, you need to pull out the wire strippers again. Strip back the insulation if you have not done so already. You should have approximately one inch of exposed wire on each cord.
- Next, hold two ends of the wire together so that they are touching one another. Do not coil the wires together. Otherwise, they are not going to fit in the wire cap. It is the job of the wire caps to twist the wires together. You do not have to twist them together yourself.
- Next, twist the wire cap clockwise on top of the exposed wires. To do this, set the wire cap on top of the exposed wires and start twisting. Rotate the cap clockwise for approximately five seconds. The wires should coil themselves inside of the cap. After this, tug on the wires to make sure they stay in place. If the wires come loose, you need to twist a wire tap some more.
- If you find that the cap is still loose, you may be using a wire cap that is too big. Or, you can strip back some more insulation, so there’s more wire to coil inside of the cap.
- Once you are done, take some electrical tape and layer it around the exposed wires. You should wrap some black electrical tape around the bottom of the wire caps to cover it completely. You need to overlap each layer of tapes of the wires are not exposed. When you are done, use a pair of scissors to cut the electrical tape.
This is another straightforward method for splicing wires together.
A few benefits of this method include:
- You can use this method with larger wires
- This is also a relatively inexpensive method
- It does not take that long to use a wire cap to combine your wires
The downside is that wire caps are not always that secure. If the electrical tape comes loose over time, it could lead to exposed wires that create a safety hazard. Take a look at the wire cap from time to time and make sure the wires are still spliced appropriately.
Method 3: Use a Butt Splice
Another option that may work well for thicker wires is to use something called a butt splice. You can find a butt splice at most of your hardware stores. If you know how big your wires are, there may be someone at the store who can help you find the right butt splice. In order to complete this wire splicing method, a few steps you should follow include:
- First, you need to strip the insulation from the wires using wire strippers. You need to remove approximately one inch of insulation from every wire you are going to be working with.
- After this, take one of the exposed wires and insert it into the butt splice. You should push the exposed end until it is in the middle of the butt splice.
- Next, take a wire crimper. Press it approximately one-quarter of the way into the butt splice from the end into what you just said the wire. You should match the crimper hole the exact size of the butt splice. Press the crimper handles all the way down. You are using this to hold the wire in place. There is a chance that your wire strippers may have a wire crimper as well.
- After this, you need to do the same thing to the other side. Place the second wire in the butt splice. Make sure it touches the other wire that is already in the butt splice. Then, use the wire crimper to secure the wire in place again. There is a good chance your butt splice is transparent, allowing you to see the wires touch one another.
- After the wires are secure, slide some shrink tubing over the entire butt splice. If you find a shrink tube falls off after you slide it in place, use the wire crimper to crimp that in place as well. Another option is to use electrical tape instead.
- Finally, you should take a heat gun and point it toward the shrink tubing. Rotate the spliced wire in your hands. The shrink tube should effectively insulate the wires after you heat them appropriately.
This is one of the most popular methods for splicing wires together if you have thicker wires:
A few of the biggest benefits of using this method include:
- This is the ideal method if you have thicker wires you are trying to splice together.
- This is one of the safest options, as you are going to add multiple layers of protection between the exposed wires and the external environment.
- This is a durable wire splicing method that should keep the wires spliced together for a long time.
Even though this method does work well for thicker wires, it does take a bit longer to accomplish. In addition, this method requires more tools, making this slightly more expensive.
The Most Common Mistakes People Make When Splicing Wires Together
In the end, if you are trying to slice multiple wires together, you have plenty of options available. You can think about the types of wires you are splicing, your past experiences, and select the best option for you. At the same time, there are a few common mistakes people make. These include:
- Do not splice wires together if they are different sizes. This is nearly impossible to do, and it can create a serious electrical hazard. Only combine wires that are the same sizes.
- Do not strip more insulation from the wires than is absolutely necessary. The insulation is in place because it is an important safety measure. If you remove too much insulation, you risk leaving exposed wires around, creating a serious safety hazard. Remember that you can always remove more insulation later. You can never put it back.
- If you are using a wire crimper, do not force the wires into a hole that is too small. If you try to clamp the wires in a hole that is too small, you are simply going to cut the wires. Start with a larger hole and move down to a smaller hole if necessary.
- If you require a heat gun and do not have one, try to avoid using a blowtorch. If a blowtorch touches the wires or tubing, it is going to melt instantly. You can find a heat gun at your local hardware store instead.
- Remember to shut off the power before you get started. This is one of the easiest ways to get electrocuted. Even though it is easy to overlook this step, it is the most important safety measure.
- If you are splicing wires together, it is easy to leave them too short. This can make it extremely difficult for you to connect them later, in addition to creating a serious safety hazard. There are wire connectors you can use to quickly and easily extend your wires. You can find them at most hardware stores.
These are a few of the most common mistakes people make when trying to splice wires together. Because you have multiple options available, it is easy to get confused. Make sure you follow all appropriate safety measures if you are trying to splice your wires together yourself. Finally, if you have any questions or concerns, remember to reach out to a professional for help.