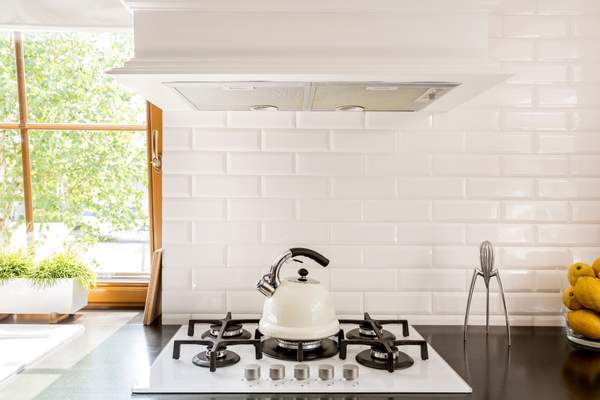
Peel-and-stick tiles are an easy and cost-effective way of modifying the interior look of a house. These tiles are mainly installed in the kitchen and bathroom backsplashes.
Have you installed peel-and-stick tiles and are thinking of changing them? If so, you’ve found the right place!
In this blog, you will learn how to remove peel-and-stick tile from the wall.
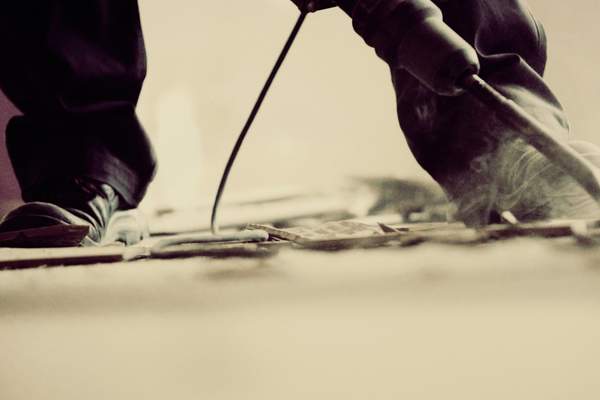
Warm the tiles, as this will help loosen the glue. Lift the edge of the tile using a putty knife. Insert the pry bar and carefully remove the peel-and-stick tiles without breaking them.
You can repeat the process to remove the rest of the tiles. After removing all the peel-and-stick tile from the wall, ensure to clean the wall using dish soap and warm water.
Installing Peel-and-Stick Tile Adhesive
Installing peel-and-stick tiles is super easy. Even newbies can DIY the installation process.
First, measure the wall or backsplash where you will install the tiles. Using the measurement, you can estimate the required number of tiles. Before starting the process, clean the wall well for better adhesion.
Cut the tiles to fit the surface and plan the installation without removing the backing of the tiles. Finally, you can remove the backing off, stick the tiles to the wall, and press them with your hand.
How to Remove Peel-and-Stick Adhesive
Similar to the installation process, removing peel-and-stick tile is also easy. Hence, you can DIY the process by following the instructions in the article.
Essential Items:
Make sure to gather all the necessary items before getting started.
- Pry bar: Using a pry bar with a wide blade, you can easily pry the tiles one by one and remove them from the wall.
- Putty knife: using this, you can lift the edge of the tile and insert it between the tile and the wall. This way, you can get enough space to insert the pry bar.
- Knife: A sharp utility knife will make it easy to remove peel-and-stick tiles.
- Hair Dryer: You can use the hair dryer to heat the surface of the tiles and loosen the adhesive underneath.
- A bucket: to prepare the solution for cleaning the wall after removing all the peel-and-stick tiles.
- Sponge/ Old Cloth: You can dampen the glue on the wall using a soaked sponge.
- Protective Gloves: To ensure safety, wearing protective gloves is essential.
Generally, removing the tile adhesive from the plaster wall requires some effort. Since you are working with peel-and-stick tile adhesive you don’t have to worry much.
Safety Precautions:

When you are DIYing the process, it is essential to possess some knowledge about the safety precautions. Following are some safety tips that you must know.
- Ventilate the place well by opening the windows and door. This will send contaminated air out while allowing fresh air inside the room.
- Since you will handle chemical adhesives, wearing protective clothing, a mask, gloves, and goggles is better.
- After removing the tile, clean the putty and utility knives with soap and water. Using separate tools for these purposes is better, as it will help avoid cross-contamination.
- For removing stubborn adhesive, you can use acetone solvent or citrus stripper.
Directions:
If you do this for the first time, understand the process before you start DIYing.
Step 1: Supply heat
The peel-and-stick tiles are self-adhesive. This self-adhesive helps firmly bond the tiles to the surface. Once the adhesive cures and the tiles strongly grip the wall.
So, when removing peel-and-stick tile, you must soften the adhesive by supplying heat.
Using the hair dryer, start warming the first tile. Supply heat adequately by moving the hair dryer around for sixty seconds.
You can place the hair dryer closer to the tile to make the warming process faster.
Note: Placing the hair dryer too close to the surface can cause overheating. Hence, keep the blow dryer at least one inch away from the tiles.
Step 2: Lift the Edge
After warming the surface, the adhesive will start to soften, making it easy to remove the tiles.
Now, using the putty knife, slowly lift the edge of the tiles. Insert the putty knife in between the surface and the tile. This will help make space to insert the pry bar. Next, use the pry bar and pry the tile at 30 degrees.
Pry the tiles using moderate strength. Ensure that you are careful so that you don’t break any tiles.
Step 3: Pull the Tiles
Once you have lifted the tiles high enough, you can slip your hand between the gaps.
After getting a firm grip, start pulling the tiles. If you cannot remove them easily, use the pry bar to remove the tiles.
When handling stubborn adhesive, you can make cuts using the utility knife.
Step 4: Repeating the Above Steps
After removing the first tile, you can use the same technique to remove the rest of the tiles.
Work on one tile at a time. This may take some time, depending on the surface of your wall. Hence, work with patience.
Handling the tiles with care will prevent them from breaking. So you can utilise the removed tiles.
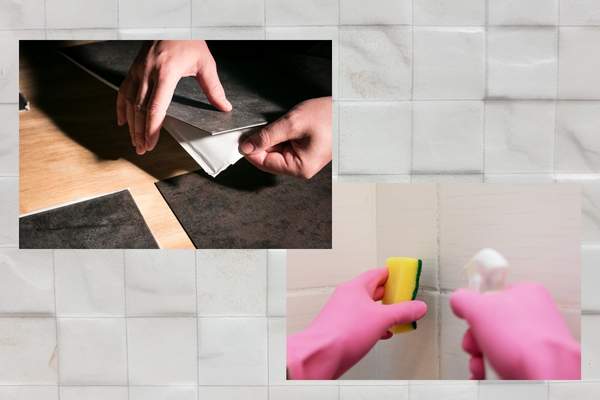
Step 5: Cleaning the Wall
After removing the tile, you may notice adhesive stuck to the walls. Therefore, the next step is to remove these adhesive spots and clean the wall.
Add one quart of warm water and two tablespoons of dish soap to a bucket. Stir them well. Soak a sponge or old cloth in the solution. Using the sponge, scrub off the adhesive from the wall.
The warm solution will dampen the glue, so you can easily remove it.
Note: Cleaning the wall soon after removing the tile is best. Since the adhesive will start hardening with time and may become difficult to remove. Before repainting or tiling, remove the glue, clean it, and allow the wall to dry.
How Long Do Peel and Stick Tiles Last?
Although, when compared to ceramic or other tiling options, peel-and-stick tiles have a short lifespan. Most modern peel-and-stick tiles are designed with solid self-adhesion to ensure durability.
These tiles may last from five years to twenty-five years. Lifespan may depend on the following factors:
- Quality of the peel-and-stick tiles. If you are using a cheap product with low quality, you cannot expect such products to last longer. At the same time, high-quality tiles will be more durable, although they are more expensive.
- Manufacturers offering guaranteed standard products will ensure longevity.
- Installing thick peel-and-stick tiles will improve the lifespan.
- When laying peel-and-stick tiles to the backsplash, ensure to purchase moisture-resistant tiles since you cannot install most of the product in moisture-rich places.
- Maintenance is another crucial factor that will impact the lifespan of the product.
Will Peel-and-Stick Adhesive Damage Your Wall?
Many often debate whether removing the peel-and-stick can damage the wall. The answer will depend on the method of installation and removal.
If you followed the correct procedure and carefully installed the tiles during installation, you could prevent wall damage.
Further, when removing the peel-and-stick tiles, you will handle them with sharp utensils. Hence, dealing with it with care will prevent wall damage.
In general, peel-and-stick tiles are safe for the walls. So they will not damage the walls.
Bottom line
Now you will understand how to remove peel-and-stick tiles. Following the above procedure, you can remove these tiles from the wall.
Removing the tiles without breaking them will help to repurpose them in another tiling project. Often, installing and removing peel-and-stick tile is easy and does not require any professional experience.
The tips and tricks here will be sufficient for DIYing the task. If you find it difficult, you can contact a specialized service nearby. The experts will help complete the job faster.
We hope this blog was informative!
FAQs
Can I Remove the Old Peel and Stick Tiles from the Backsplash?
Yes, you can remove peel-and-stick tiles by yourself, as the process is easy.
Warm up each tile using the hair dryer. Once the adhesive softens, lift it from the corner and peel it off carefully.
Can I Use Peel and Stick Tiles on the Bathroom Backsplash?
Yes, you can tile the bathroom backsplash using peel-and-stick tiles.
When choosing tiles for moisture-rich places, ensure that you purchase high-quality tiles that are moisture-resistant.
How to Remove Leftover Adhesive from the Wall?
After removing the tiles, some leftover adhesive will be on the wall.
Soak them in a thick coating of mineral oil for around 15 minutes. Then, using an old rag, wipe the adhesive off in one direction.
You can also use any alternative method, like nail polish remover, to dampen the adhesive.