It’s hard enough to apply tiles on the wall – the process becomes ten times more difficult if there is an uneven wall involved. In many cases, drywalls aren’t completely even. There are often boards that aren’t flush with each other, which leads to a ‘bowing’ effect, making the tiling process even harder.
If you are looking to tile over an uneven drywall, you might have to get your hands a lot dirtier than you originally imagined. However, before you start tearing down your drywall, there are a few options you have that allow you to tile over said uneven drywall.
You can use plaster and a spirit level to try to add a bit more material to your drywall and make it more even. However, expertise plays an important role here. You can also choose to use varying amounts of adhesive throughout the wall, or simply use backer boards of different widths to board over the drywall and then apply your tiles.
Here, we will consider the ins and outs of these solutions in search for an answer to how to tile over uneven drywall.
How to Tile Over Uneven Drywall – Things to Consider
If you look at the global construction landscape, it is no secret that construction workers have a knack for cutting corners where they can. For them, it’s about building a straight wall – nobody said it has to be level to the last degree. You will actually find more uneven walls than even walls out there!
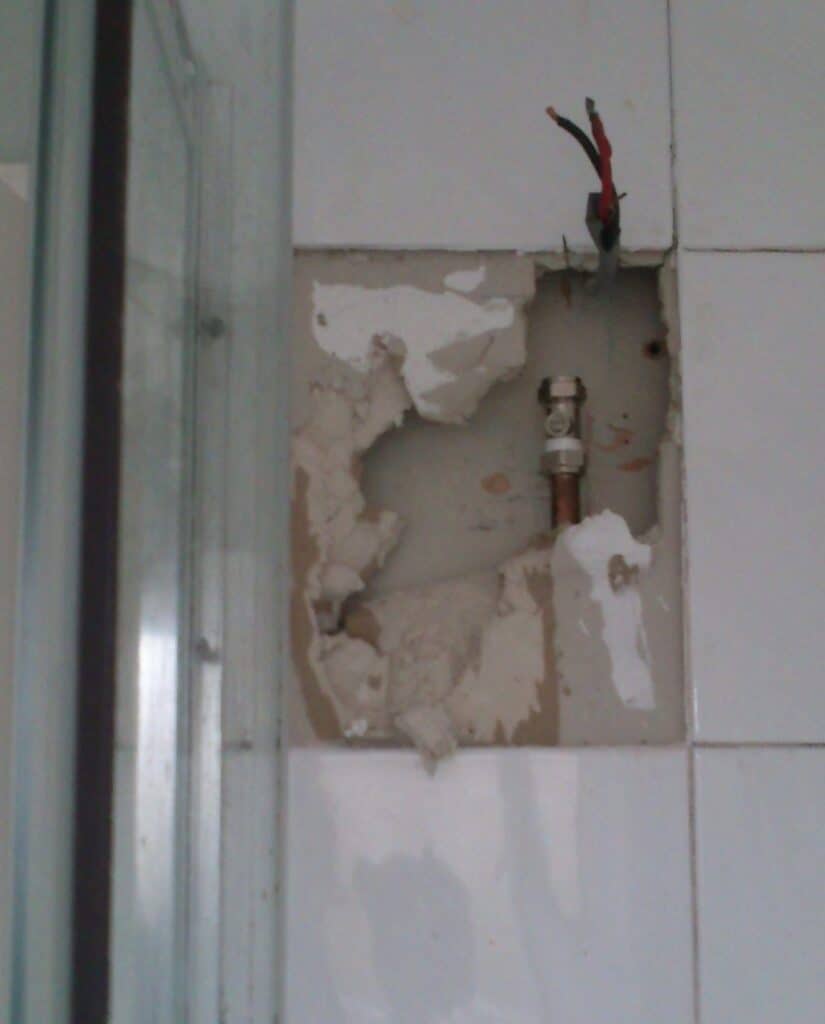
If you put a straight edge up against a wall, you’ll find sunken areas or may even find some bumps along the way. We recommend using at least a 48-inch straight edge to determine whether drywall is level or not.
But gaps and bumps may not be the extent of your problems. You may even find spots along window trims or wall plugs that are either too built up, or not enough. This would end up creating problems for you when you are tiling around cabinets or windows or trimming.
Here, you will have to consider not just how to make sure the drywall is even, but also how to prep the uneven wall.
Prepping Your Walls for Tiling
If you look at the whole process of how to tile over uneven drywall, prepping the wall is actually the easiest bit. You will need a scraper (or two), some sandpaper (or sander), a clean cloth, and a vacuum cleaner.
The goal is to create texture and prepare the wall for tile adhesive. To do that:
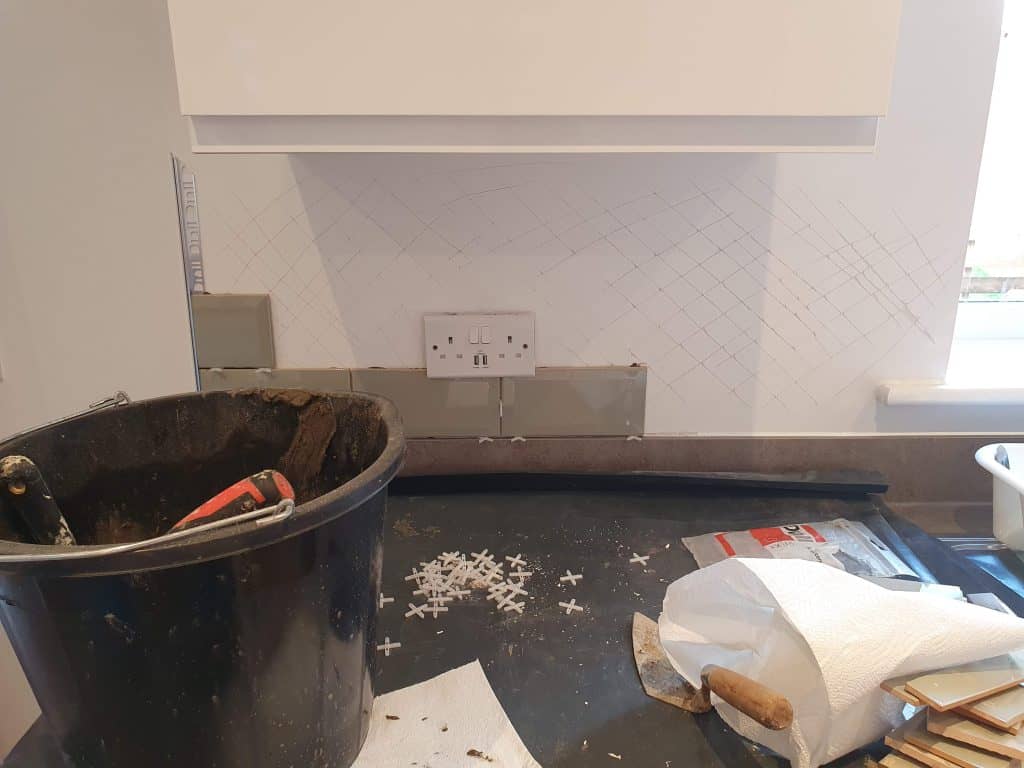
- Start by removing any and all fittings from the walls. This may include the lamps, nails, screws, and more. If there are any outlets, it is a good idea to cover them with tape. Remember, though, that you may have to reinstall these, considering how the height of your wall is going to increase. However, this depends entirely on how flush you want the outlets to be.
- Pick up the scraper and start removing any loose plaster on the drywall. This plaster is probably going to be where the drywall is uneven. Be careful about how much plaster you remove. If it is well in place, you don’t have to scrape it off.
- If you have any wallpaper installed, scrape that as well.
- Inspect the wall carefully. Use your cell phone’s torch to check if there are any cracks developing or other form of damage. Repair it before going any further.
- Sand the surface after you are done repairing.
- Clean the wall off with a clean cloth. The goal is to remove any residual dust, grease, and moisture.
With that, your wall is now prepped; for tiling or evening it out.
Making Sure the Wall Is Even
Once you have prepped the wall, you will have a good idea about where the wall is uneven. However, even if you are sure, it is a good idea to double check. Failure to do so can lead to your tiles either being hollow from the inside, the adhesive not being enough, or even the tile itself not sitting properly.
Since you are tiling a wall, unevenness might lead to a bowing effect. You may be able to install the tiles confidently, but since the wall is bowing, gravity will pull the tile down. This could either lead to the tile loosening up or coming crashing down during the curing process! And remember, the tiles will likely have a domino effect and can potentially bring down your whole installation.
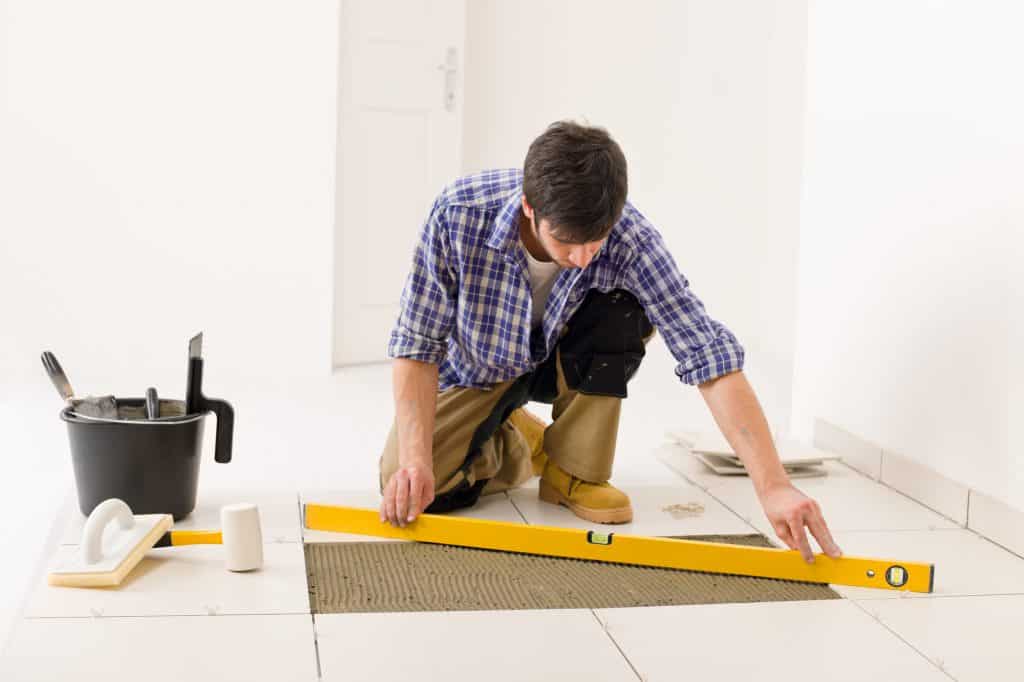
To verify whether the wall is even or not, use a straight edge. This is a long, flat piece of wood that is used as a scale to ensure flatness. If you don’t have a straight edge, you can also consider using a long tile and spirit level.
If you spot any irregularities, mark them. Make a small mark where the wall starts depressing and another on top, where it comes back to the original level. Do the same on both sides of the uneven patch.
Depending on whether the wall is depressed or raised, you will have to adopt different methods to flatten the wall.
Before marking the wall, make sure you adjust your perspective and look at the irregularity from all angles. It is also important to consider whether the straight edge of the piece of wood you are using is actually straight or not.
If you have raises or swellings that are about 4-6mm, it shouldn’t make any difference. If that is the case, you don’t have to spend hours trying to level it out.
Flattening a Wall & Giving It the Final Preps for Tiling
Once you’ve prepped the wall for flattening as discussed above and have necessary marks in place, you have several options available. Let us discuss the most viable one first, i.e., applying plaster to level it out.
For this, you will need a putty knife or if you are skilled enough, you can do it with a scraper as well.
- Start by scratching the surface of the wall. Since you’re applying plaster, these scratches don’t really have to be deep; just enough so that it has somewhere to hold on to. It is up to you whether you use spackle, joint, or drywall compounds for this since you’ll be applying the tiles on top of adhesive anyway.
- Add a dollop of putty at the center of your gap and start spreading it out to the marks you made when prepping.
- With the help of your scraper (or putty knife), spread it out and try to even out the corners, i.e., close to the marks. Once that is leveled, start moving inwards. Keep leveling the surface as you move in, adding or removing the compound as needed.
- Use a spirit level to ensure that the filling is uniform and flush with the rest of your drywall.
- Once done, check whether it’s level with the help of a straight edge.
- If there are any more depressions that need to be filled, work on them now.
- Give the compound at least 24 hours to cure. Once cured, make some slashes on the whole drywall, including the plaster to make room for the tile adhesive.
If there are any bulges, you will have to sand or grind them down. We recommend using a sanding block since it gives you more control over how much you grind – though it uses a lot of elbow grease.
Alternative: Vary Mortar (Adhesive) Amount
Another option you can choose to adopt is using varying amounts of mortar (tile adhesive). This has a certain degree of difficulty associated with the process and not everyone can pull it off, so we recommend you avoid doing this.
For this method:
- Start by placing your straight edge against the drywall and determining the highest point. Mark it in a manner that you won’t miss it when working.
- Now, roughen up the wall to make room for the tile adhesive.
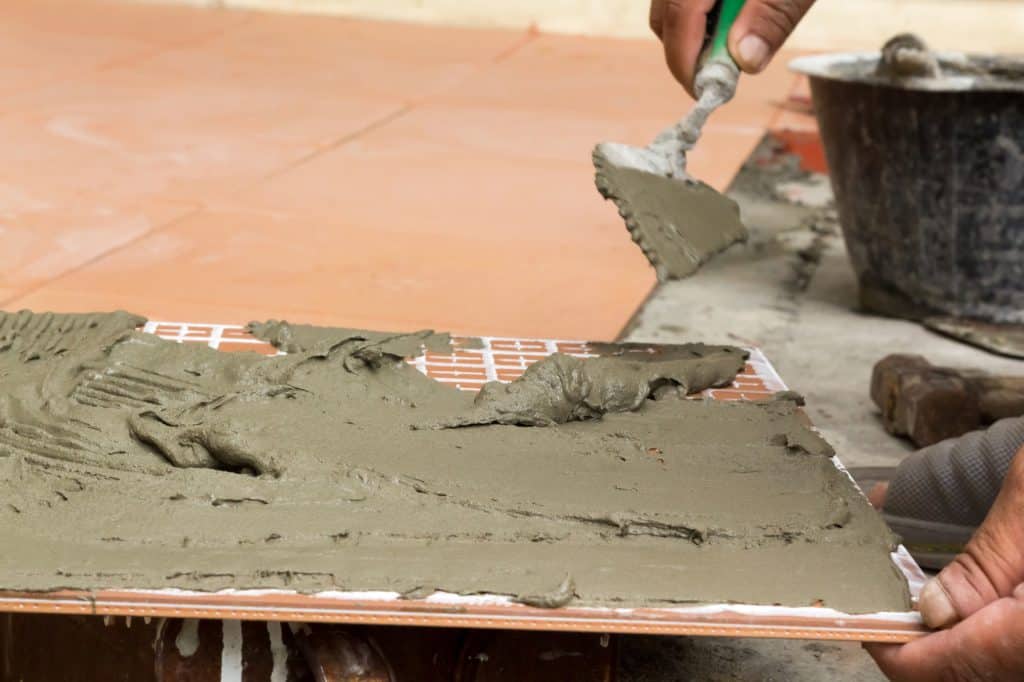
- Add a large dollop of tile adhesive and spread it with the help of a notched trowel.
- Start applying a single tile on the highest point and supporting it with something. With the help of a spirit level, make sure it is level horizontally and vertically.
- Measure the height of that tile and apply another at the bottom, center of your wall. Use a pyramid structure when applying tiles.
- With the help of a measuring tape, make sure the new tile applied is at the same height as the one before. Check all the sides with a spirit level.
- Once both tiles are aligned, continue applying the rest as you normally would, checking whether the tiles are level or not every step of the way.
- Use levelers to ensure that all the tiles are evenly spaced and leveled. And you’re done!
When looking for how to tile over uneven drywall, we would recommend going with the first method, since it is easier and has less room for error.