Today, there are a lot of options if you are trying to finish the interior of your building. Whether you are building a home or running a commercial establishment, you may run into walls that have been built with something called lath and plaster. While this may not be as common in newer buildings, which are typically made with drywall, lath and plaster are still used in some buildings today. If the building was built during the 1940s or earlier, then lath and plaster will almost certainly be present, as drywall panels were not common until the 1950s. If you are trying to repair or build a building using lath and plaster, how long should you let it dry? There are a few important points to keep in mind.
Drying: Most Lath and Plaster Will Cure in 24 to 48 Hours
The exact amount of time you need to wait for you your lath and plaster to cure will vary slightly from building to building; however, the vast majority of these walls are going to cure within 24 to 48 hours. Of course, this does depend on the type of plaster you are using. If this is the first coat of plaster you are applying, it may take longer than subsequent coats.
It is important for you to keep an eye on your lath and plaster. The appearance may change as that begins to dry. Therefore, you may have to go in and apply subsequent coats, which means the rest of the project could take longer to finish. You should also make sure you do not do anything with the plaster before it dries completely.
Keep an Eye on the Environmental Conditions
One of the most important factors that will impact the installation of lath and plaster is the weather. Therefore, you need to think carefully about the environment in which you are installing your lath and plaster. If the temperature begins to drop, and if it begins to rain regularly, this can significantly impact the amount of time it takes for your plaster to dry. Time is precious, and time is money, so it is important to think about the weather if you are setting a schedule.
- The Winter Months: During the winter months, there is less daylight available. The reality is that lath and plaster are not going to dry quickly if it is not exposed to daylight. When the sun is not out as often during the winter, it may take longer to dry. Make sure you double-check your work before you start screwing or painting.
- The Temperatures: Of course, it will also take longer for lath and plaster to dry if the temperature is not as warm outside. When the temperature begins to drop, particularly at night, the lath and plaster will not dry as quickly. Double-check your lath and plaster if the temperature has gotten cold outside.
- The Rain: Moisture is also going to play a major role in your lath and plaster’s ability to dry. Obviously, if it is raining outside, your lath and plaster will have a difficult time drying. In addition, projects that take place under humid conditions will also take longer to dry.
These are just a few of the many examples of environmental conditions that can have an impact on the ability of your lath and plaster to dry properly. Even though there are other environmental factors that may play a role, these are the biggest ones to keep in mind. If it is cold outside, dark outside, or if it is raining, your lath and plaster will take longer to dry. Therefore, you need to use caution when you check your lath and plaster. Make sure it has dried completely.
Taking a Closer Look at the Rain
It is important to take a closer look at how the rain is going to impact your ability to finish this project. As you are going through the lath process, one of the earliest steps you are going to perform is to install 60-minute paper over your wood framing. If it has rained recently, you may want to put off the step by a day.
If you install 60-minute paper over your wood frame, the wood is not going to be able to drive properly. If the wood is not able to dry completely, you are not going to be able to complete the rest of the project. As you place the plaster on top of the wood frame, you are going to be applying a significant amount of weight to the board. If the wood has not dried out completely, it is not going to be able to support this weight. That is why you need to be very careful if you are installing your 60-minute paper to the wood frame.
If you do this while the wood is wet, there are several consequences you might notice. These include:
- When wood becomes wet, it starts to swell. If you have ever seen what sticks in the woods, you know exactly what this looks like. Wood, just like other materials, can retain some water. This will impact the size of the wood, including your frame.
- You need to allow the wood to dry completely before you work with it. If you do not do so, the wood can warp and twist. This can adversely impact the quality of your final product.
- The reason for this is that wood becomes weaker as it absorbs moisture. It expands, impacting the ability of the wood to stand up to the stress of your plaster.
The end result of this process is that there is more stress placed on the overall lath and plaster system. This stress can lead to a lot of cracks, which is why you need to let the wood frame dry out before you work with it.
Importantly, just because your wood frame gets wet doesn’t mean your project is going to fail. Rain happens from time to time, even during the most detail-oriented projects. You need to allow the wood to completely dry out before you work with it. If there are shorter daylight hours, higher humidity levels, or cooler temperatures, it could take a day or two for your wood frame to completely dry out. This is important before you move forward.
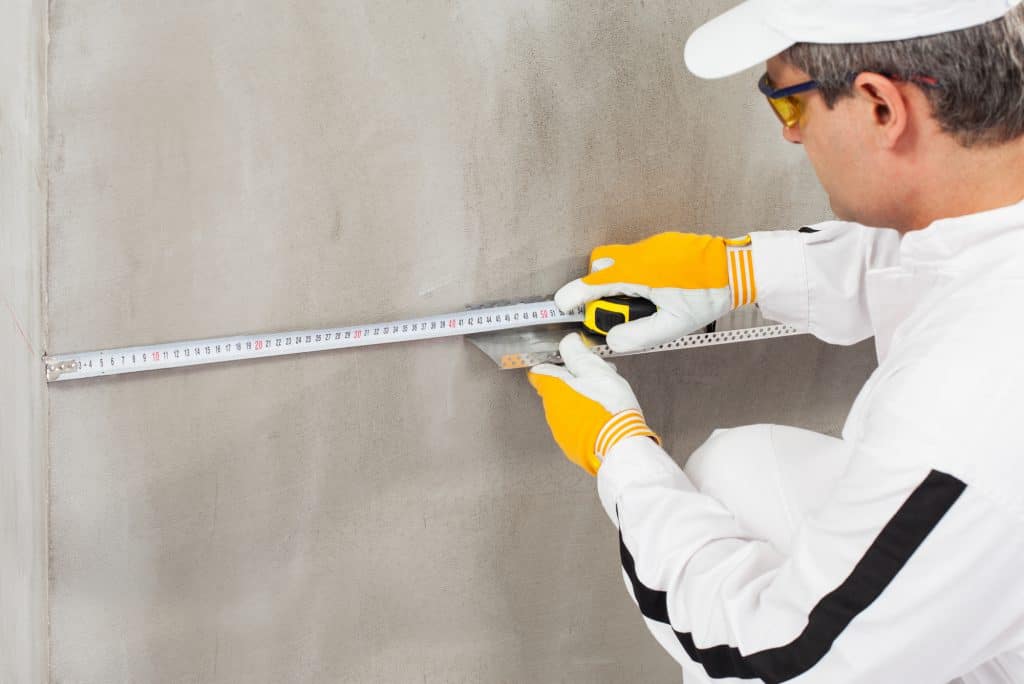
The Thickness of the Scratch Coat
As you proceed forward with the process, the next step is going to be installing your scratch coat. The scratch coat is the first layer you apply on top of the lath after it has dried. The biggest factor that is going to impact the ability of your scratch coat to dry is the thickness. How thick is the scratch coat you are applying to the surface of the lath?
In general, the thicker the coat is, the longer it is going to take the dry. Now, you may think that if you wanted to drive quickly, you should go with a thin scratch coat. On the other hand, if you go with a coat that is too thin, it is going to have a hard time withstanding the other layers you apply after this. The biggest consequence of going with a thin coat is that it will crack easily. This means that you will have to go back and start the project over.
If you go with a coat that is relatively thick, then fewer cracks are going to appear in the final plaster. During the summer months, when the wall is dry and hot, you might be able to install a scratch coat that is 0.5 inches thick; however, if the weather is cool, the scratch coat might only be 0.25 inches thick.
Even though you do want to go with a scratch coat that is thick, you do need to think about the weather outside. During cooler temperatures, you may not be able to install a scratch coat that is that thick. During the summer months, you may be able to install a thicker scratch coat. The reason behind this is that a thick scratch coat can still dry in a reasonable amount of time during the summer.
Overall, you are scratch coat should dry in a day or two. Remember that it is going to take longer to dry if it is raining, cold, or if the sun is not out. If the temperature is particularly cold and the weather is dark, it could take longer than two days for the scratch coat to dry completely. It is important to be patient during this time so you allow the scratch coat to dry and cure properly.
Just as with the first step, the weather outside is going to impact how long it takes for your scratch coat to dry. If there is a lot of rain outside, it is probably going to take longer for the scratch coat to dry. Therefore, you need to identify a period of time with good weather conditions so you can install a thick, strong scratch coat that will dry quickly.
The Brown Coat Goes On Top of the Scratch Coat
After the scratch coat has dried properly, the next step is to install the brown coat. You need to make sure the brown coat properly bonds to the scratch coat. The scratch coat has a significant amount of suction to it. Therefore, when the brown coat is installed on top of the scratch coat, it will immediately attach due to the suction. After you apply the brown coat, you need to make sure it dries completely before you do anything else with it.
Keep in mind that the brown coat is not going to stick if you have not allowed the scratch coat to dry properly. For example, if you try to apply your brown coat without the scratch coat being dry, no suction is going to be present. Therefore, the brown coat is simply going to fall right off of the scratch coat, leaving you frustrated. This can also ruin your project.
As a result, you need to delay the installation of the brown coat until the scratch coat has dried completely. After you have placed the brown coat on top of the scratch coat, it should dry in a day or two; however, it could take up to a week. Similar environmental conditions are still going to play a role. If there is not a lot of daylight, if there is lots of rain, or if the temperatures are cold, it is going to take longer for the brown coat to dry.
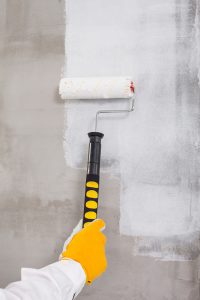
Common Problems Associated with Applying Color Coats
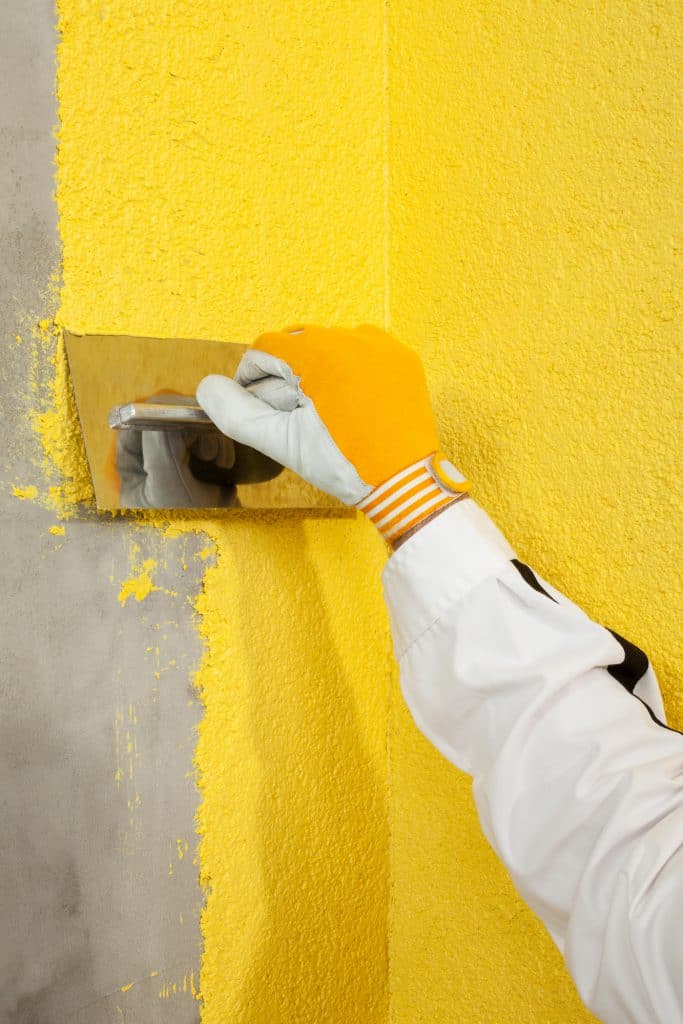
After the brown coat has dried, you should be ready to apply to color coats. There are several common problems you may experience as you try to install color coats. These include:
- Dark Colors: During the winter months, a lot of the colors you may apply could appear darker. The reason behind this is that the walls do not dry as quickly. Therefore, the color particles do not set as quickly and have time to rise to the surface. The more color particles move to the surface, the denser the color is going to look. This makes them appear darker. Darker colors are going to be impacted by this problem more than lighter colors.
- Efflorescence: You might also notice a crystalline salt deposit when you apply the color layer. This is called efflorescence. Salt is a normal part of raw materials that are used to produce a lot of materials, including some types of plaster and colors. It can crystallize and rise to the surface, particularly if the temperature is colder outside. It can be removed easily.
These are just a few of the issues you may notice when you are trying to apply your color coat on top of your lathe and plaster. As long as you are patient and wait for good environmental conditions, the color coat should stick well to the brown coat.
Frequently Asked Questions About Lath and Plaster
There are several common questions that people ask about lath and plaster. These include:
If the wood is still wet, you are going to have a difficult time finishing your project. The wood is going to warp as you try to work with it, impacting the overall result of your project. Furthermore, as you apply multiple coats of plaster to wet wood, the wood may actually break. For this reason, you need to wait for it to dry quickly before you work with it.
There are several reasons why your plaster might be taking a long time to dry. For example, you might have a particularly thick layer of plaster. Or, it might be cold or dark outside. If it is raining or humid, this can also lead to longer drying times for your plaster.
If you decide to add paint to plaster that is still wet, you will simply trap moisture into the plaster itself. This is going to impact the overall strength and integrity of the plaster, possibly leading to structural issues down the road. You need to make sure you avoid this problem by giving the plaster plenty of time to dry. That way, your color coat will look good.
When you take a look at the plaster, it should be light without any dark spots. The color and appearance should be consistent throughout the entire wall. If you have questions or concerns about this, you may want to reach out to a professional before you proceed.