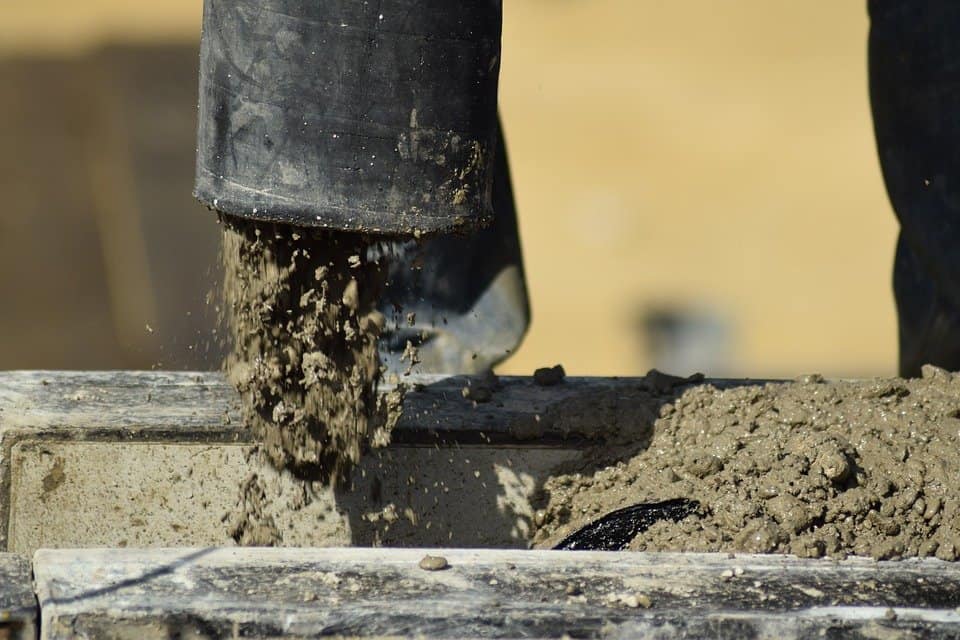
The most difficult part of any concrete job isn’t the mixing, pouring, or even smoothening the pour out, but the preparation. This is because all other parts of the process are relatively straightforward, but when it comes to preparation, numerous questions arise.
From whether the dirt is sufficiently compacted to the adequate water levels, levelling the dirt, all the way to whether you can pour concrete directly over dirt. One of the most common questions asked in the preparation phase is how long to leave dirt before pouring concrete.
If left to its own devices, dirt won’t settle for years to come. As it gets exposed to the weather, it may take anywhere from 7 to 12 years before it settles. For construction projects (no matter how small or large), you need to explicitly compact the soil with the help of excavators, rollers, or plate compactors, which can take a few hours to a day or two. Only after the dirt is settled should you pour concrete. Let’s consider this concept in more detail.
How Long to Leave Dirt Before Pouring Concrete – Explanation
As mentioned above, dirt won’t pack itself on its own. You are going to have to apply external pressure in order to speed up the settling process. Naturally, the more pressure you apply, the less you have to wait before pouring concrete.
For almost any purpose, it is essential to compact dirt to a certain degree – especially if concrete is involved. This is done so that no sink or potholes develop underneath the concrete base over time and therefore don’t lead to cracks or shifts. This would otherwise end up decreasing the integrity of your structure.
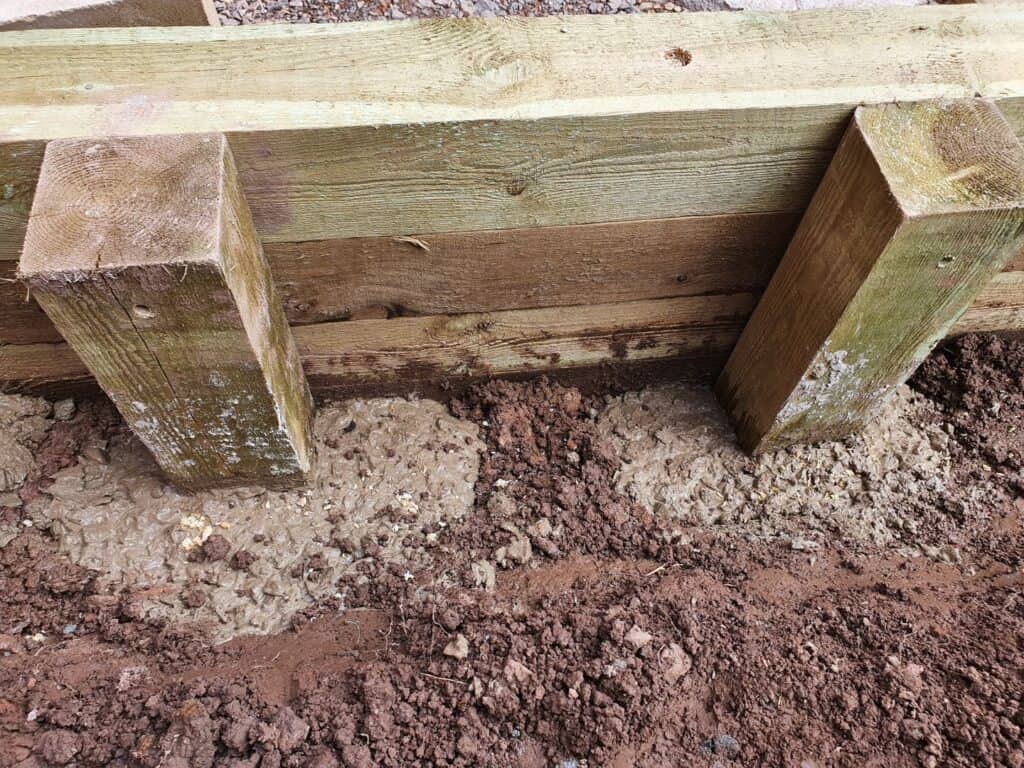
The goal of your concrete base is to support the load, i.e., the weight, of the structure.
When working on any project, it is important to take into account the time you’ll have to wait before pouring concrete, the time concrete should be given to cure (at least 7 days) and more. Remember, the more you wait, the stronger your foundation will be as concrete continues to cure.
Most people agree that concrete reaches its maximum strength at the 28-day mark (but the NPCA disagree with this), but that strength is almost entirely contingent upon how well-compacted the dirt is.
If you’ve used a plate compactor or an excavator to compact dirt, you really don’t have to wait long. An hour at most would be sufficient to let dirt and dust settle before you start pouring.
If you have used a combination of water and rollers (or stompers) to compress the dirt, it is usually a good idea to wait for at least 4-6 hours. This is so that excess water gets drained or rises to the top. If water does rise, drain it out before pouring.
If you haven’t compressed dirt, it isn’t a good idea to start pouring until at least 7 years pass.
What If I Pour Concrete Without Leaving Dirt to Compress?
Let’s say you’re on the clock and don’t have a plate compactor or roller on hand. So, instead of compressing your dirt or waiting for it to settle, you just put on your work boots, lift some weights and start walking on the dirt until it levels out. What would happen?
First of all; that’s how you compact topsoil for plants and vegetables; not for concrete. If you pour concrete over such soil without waiting, you are in for some expensive repair costs in the future – not to mention the level of risk you’re exposing your structure to.
Pouring concrete, albeit a straightforward process, can get really expensive considering the overall material costs, the efforts you put in, and the time you invest in your project. So, since you already have your hands dirty, why not do it right?
In an ideal world, every bit of air in the dirt you pour would be gone instantly, the concrete would cure instantly, and it would be able to reinforce not only the structure on top but also be able to hold its own weight.
Unfortunately, that isn’t the case. In the real world, pouring concrete on dirt before letting it settle can lead to a number of problems, including:
- Cracks developing in the concrete
- Concrete seeping into the air bubbles in the dirt underneath and therefore losing integrity
- As the dirt underneath your concrete foundation settles over time, a gap will start to develop between the foundation and dirt. This is what we call a sinkhole. Over time, your foundation will start to fall into that sinkhole, breaking up as it does so
Nothing good comes from leaving your dirt uncovered. From weather effects to animals to porous substances finding their way on to your soil, as time passes, your exposed dirt becomes more and more contaminated. It is recommended that instead of waiting years for dirt to settle, you should make your life easier by using a plate compactor to settle the dirt and start pouring concrete.
How long you should leave dirt before pouring concrete is almost entirely dependent on
- What you’re pouring
- The excavation of the footing
- Slab location
- Soil conditions, and
- Climate
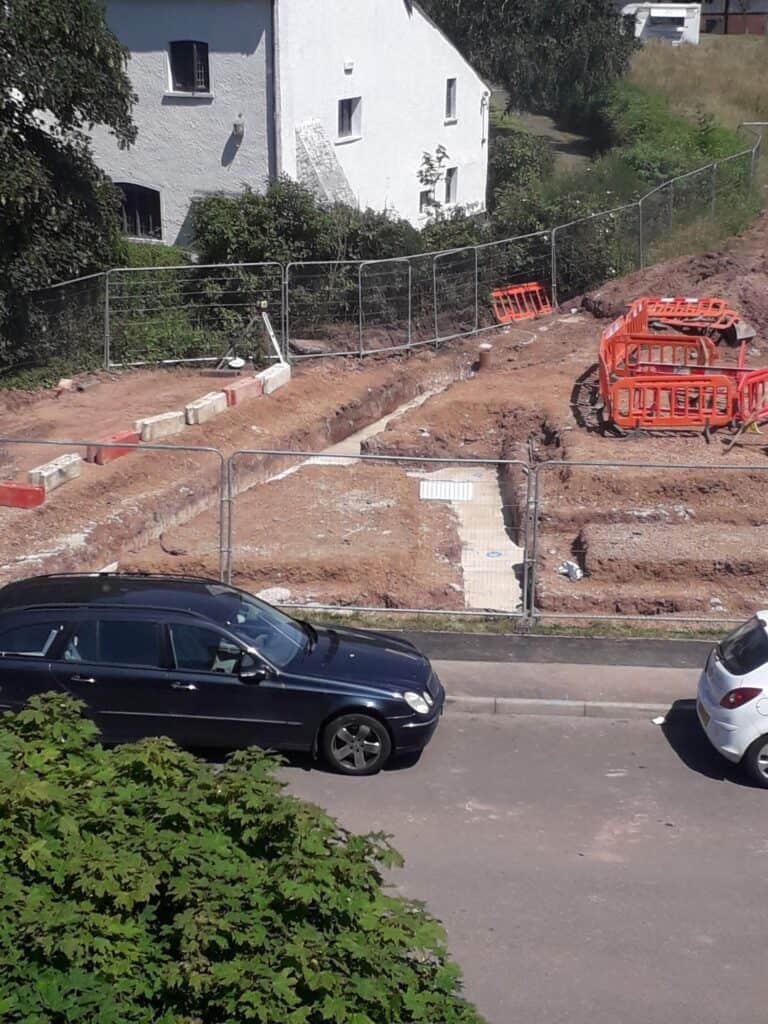
The first thing to consider is the ground excavation. We recommend you wet the soil in order to reduce the dust and to ensure the dust settles evenly. If possible, lay drainage near the soil and make sure there is a barrier that prevents dirt from draining away too. Set up rebar in all core points of your foundation and design a concrete mix with respect to your needs (the ratio of aggregate and concrete).
When waiting to pour concrete, the goal should be to make sure the soil is compact enough to hold the concrete stable, and that there is no further room for dirt to settle and give concrete room to ‘wobble’. For large construction projects, earth workers usually compact soil to at least 95% of its original bearing.
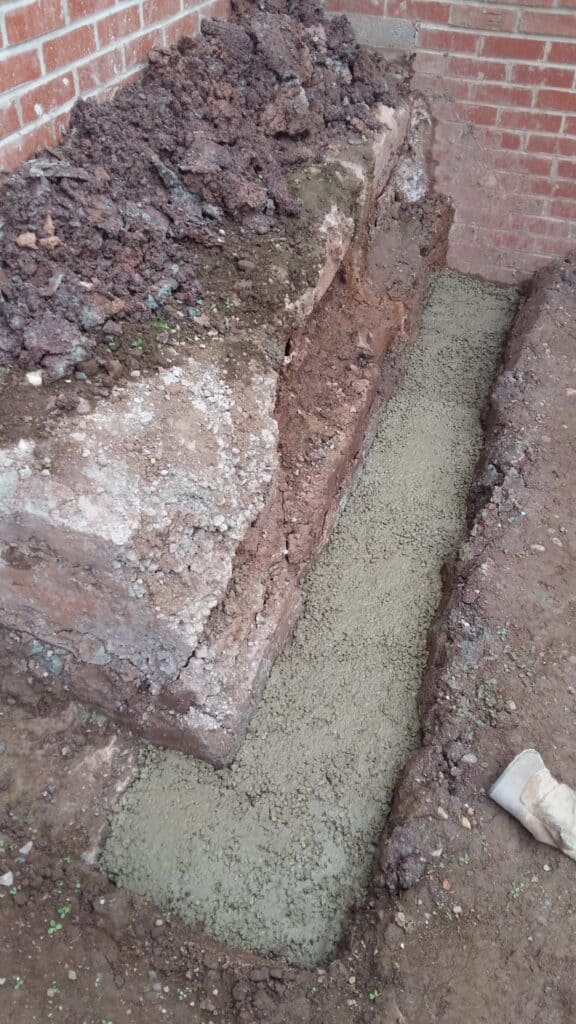
Preparing Dirt for Concrete Pours
Here is a quick guide to help you understand how long to leave dirt before pouring concrete, i.e., how much to compress before the dirt is ready.
- Start by digging the ground. To determine the right digging depth, calculate the height of your foundation, i.e., concrete slab. Add 2 inches under that figure for gravel if you are in a relatively moist area. If you are in a dry area, this should be slightly more. Concrete slabs usually sit around 1-2 inches higher than the dirt itself and 2-3 inches below the surface. This means that when digging, dig 3-5 inches deeper than what you need. Use an excavator to speed up the process.
- Once dug, smooth out the ground using the flat side of a rake or an attachment with your excavator. Try to get as level a surface as you can. It is a good idea to walk on the surface at this point. If you find any low or soft spots, fill them up with dirt.
- Tamp the ground manually first to pack the soil down softly. Make sure there are no footprints left. This is simply so that there is no dust when you use your plate compactor or the excavator. This is an optional step.
- Drive a measuring wedge in the soil so that you can measure compression.
- Now, start leveling the dirt properly until you have the desired level of compression.
- Once done, pour 2 inches of rounded gravel for additional drainage. Compress the same with a tamp of a roller until it is smooth and flat.
- Wait about 1 to 2 hours and then start pouring!
Remember, sandy material compacts very easily compared to others. A hierarchy of ease of compression is:
Sandy material > Clay > Gravel > Limestone
Depending on the material you’re working with, expect to put in more and more work throughout the hierarchy.