When I decided to remove the old carpets in the two bedrooms of my home, I was looking forward to replacing them with tiles – since I hadn’t done this sort of project before. The project ended up giving me first-hand knowledge of laying tiles on a plywood substrate. In addition, I learned important lessons about priming and sealing options before tiling.
Before tiling, there is no need to prime cement boards unless they will be exposed to extreme weather or natural conditions. Even if there is no need to prime most cement backer boards, a suitable underlayment or uncoupling mat can further protect the tiled surface from movement and moisture.
So, is there never a requirement to prime cement boards before tiling? Well, it’s not that straightforward. Let’s discuss a few essential factors relating to prime or not-to-prime.
Why Prime Cement Board?
Priming reduces porosity and makes the surface less absorbent. In addition, paintable surfaces minimize the risk of chemical reaction with cement-based adhesives. It acts as an undercoat to strengthen the tile adhesion surface and allows paint coatings to bond better to the surface.
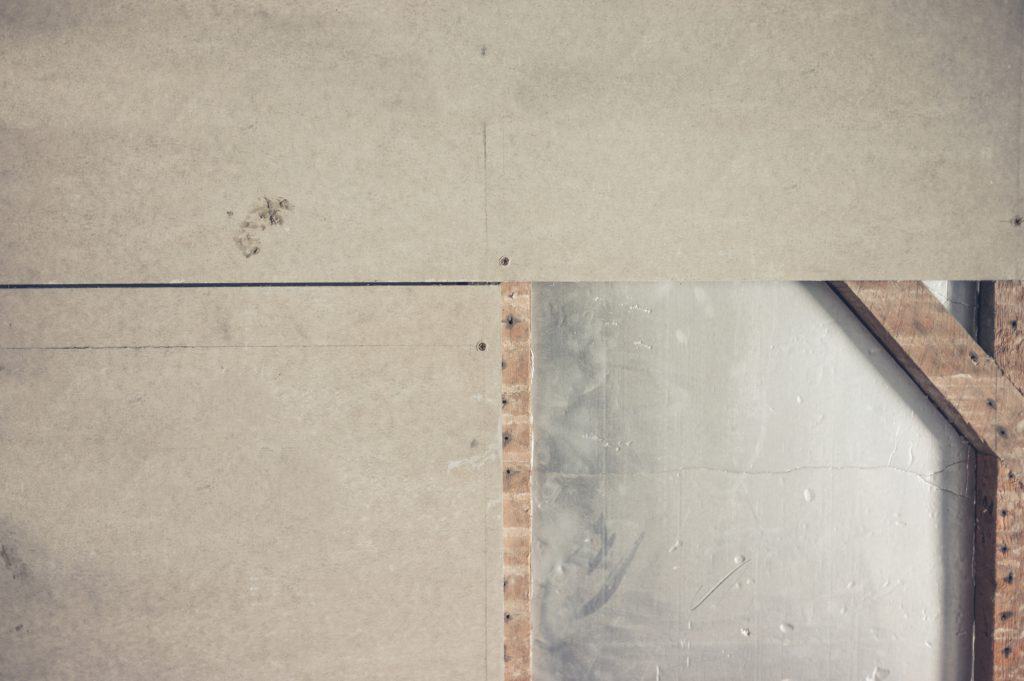
To understand the necessity for priming or not, we need to understand what cement backer boards are. Cement boards are standard for tiles and have replaced drywall backer materials, especially in bathrooms. The cement backer boards provide a smooth surface just below the tiles. Therefore, it is convenient when planning to tile on wooden subfloors.
As their name states, cement boards are a composite of cement and sand and different additives such as lime and fiber for specific purposes. Cement boards come in 1/4-inch to 1 1/2-inch thick sizes, are light weight, and easy to cut and handle. In addition, they provide some form of waterproofing and bond well with thin-set or mortar, therefore being a welcome buffer between the subfloor and the tile.
What Is Priming?
Priming a surface, in most cases, is needed before painting, but less often needed before tiling. Primers are white in color, latex-based, and water-resistant with adhesive bonding capabilities. It also has a high resin content to seal cement surfaces.
Plaster primer is mainly a sealer applied to the boards for added water resistance and curb dampness and moisture. Plaster primer is a solvent-based primer on a masonry surface. If you use plaster boards as backboards for tiling, or your tiling surfaces are power floated surfaces, you can use plaster primer before tiling.
Is It Necessary To Prime Backer Boards Before Tiling?
It is imperative to protect tiles from water or moisture and dampness; therefore, it is essential to ensure the tiled surface is adequately prepared and water-resistant. Primer is quite an effect option for water resistance.
Before tiling, the priming of cement boards is optional as most cement boards do not require it; however, it is critical to have a clean, smooth surface free of dust and defects. Also, ensure to adequately seal the cement board edges and board-and-wall corners with thin-set or silicon.
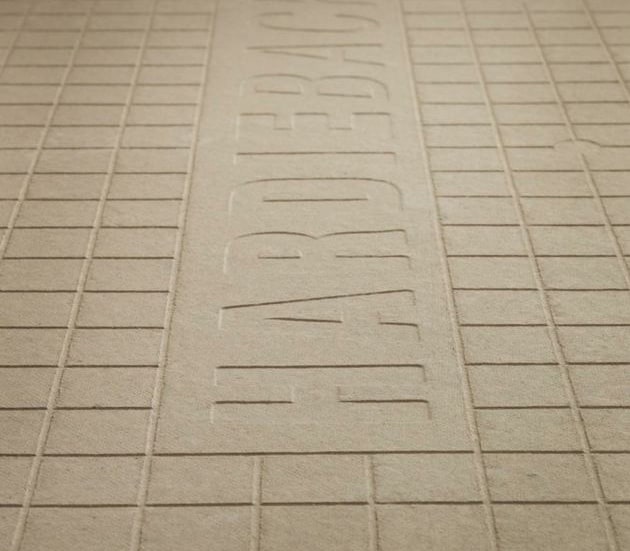
Cement boards already have additives like fiber and lime that make them waterproof. In addition, thin-set mortar tile adhesive has similar waterproof characteristics to help curb moisture rising from below the substrate. For example, Hardie backer boards do not need primer. If you are unsure, opt for a primer on your cement board or use an uncoupling mat above the cement boards before tiling.
This YouTube video covers how to prime cement before before tiling:
Is It Necessary To Seal Backer Boards Before Tiling?
Similar to priming, most cement backer boards do not require sealing. Typically, sealing the subfloor is essential to prevent moisture from reaching the tiles. However, applying a waterproofing sealer on the cement board may be good in particular circumstances, like in a bathroom or shower.
Additionally, installing the cement board with a thin-set mortar and using it to lay tiles could provide the required waterproofing. Thin-set is waterproof due to the additives added to its composite. Opt for an underlayment mat instead for bathrooms or other high moist areas.
Priming Plaster Boards
Plasterboards can replace cement boards as an alternative; however, cement boards are preferred when tiling in bathrooms or moisture-prone areas. Plasterboards and cement boards are similarly attached to the walls, and there are also joints in between panels that would require priming or sealing.
It is part of the sealing process when you prime board joints, cracks, and even off all rough edges. It helps to add waterproofing capabilities to the structure and surface. In addition, some people may use silicon to fill the board edges and seams. In other words, any method is welcome to keep the moisture from the tiles and grout.
Advantages Of Priming Cement Board Before Tiling
As mentioned before, priming cement boards are optional, and some cement board manufacturers even do not recommend it for their backer boards. However, some builders have found at least one advantage to prime cement boards, specifically when using underlayment uncoupling mats.
Sometimes the boards can be dusty and fail to bond with an underlayment mat. In this case, priming the boards before laying the uncoupling mats can help. Also, some underlayment mats are self-adhesive, and priming would make sense to improve bonding. Yet, it is always better to follow the board manufacturer’s instructions and recommendations.
How To Cut Cement Backer Board
If you have a utility knife, you are ready to cut any cement board sheet to size by using the score and snap method – it’s the only necessary tool! So if you need to cut cement board before starting your tiling project, here- are the easy steps to score and snap cement boards:
- Measure and mark the sheet.
- Score the cement board along the marked line with a utility knife.
- Repeat the score action a few times until you are comfortable that the scoring is prominent enough.
- Snap the cement board on the scored line by working it up and down until it snaps.
- Remove the rough cut edges with the utility knife.
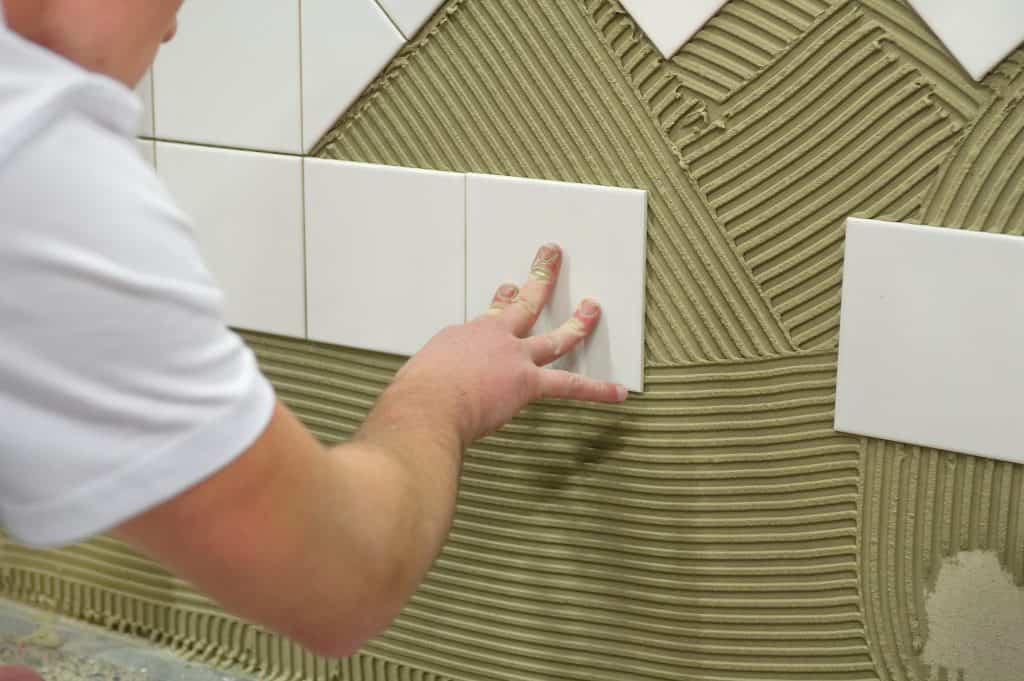
How To Install Cement Board On A Wall Before Tiling
There is no better foundation for tiles than waterproof backer boards. It makes the tiling project go faster as you work with a smooth surface, and you know that moisture and dampness are blocked for peace of mind and durability.
Here are the general steps to follow when installing cement board on a wall:
- Step 1: Ensure that the walls are waterproof by adding a vapor barrier such as plastic sheets to the walls.
- Step 2: Use one-1/4-inch cement board screws to attach the backer boards to the back wall.
- Step 3: Remember to leave 1/3-inch gaps between the boards and between the walls and boards.
- Step 4: Apply mortar thin-set or silicon between the boards and along with the board and wall joints.
- Step 5: Use cement board alkali-resistant tape to cover all the board and board-and-wall joints.
- Step 6: Apply mortar thin-set thinly over the mesh tape and allow to dry.
- Step 7: Using sandpaper, clear all extra rough patches until the whole surface is smooth.
- Step 8: Optionally prime the entire cement board surface with an acrylic primer and leave to dry.
As you can see, steps 1-7 are the most important – without these, the wall base will not be sound or level, and this can ruin your tiling project. Step 8 (i.e. whether to prime or not) is entirely optional.
Conclusion
Preparation is vital to any building project and even more so before tiling on a surface. Using cement backer boards as a tile underlayment is a necessary preparation step. After that, the (optional) sealing of the underlayment surface completes that step.
There are a number of options to ensure long-term moisture protection and durability, such as priming, sealing, using an uncoupling mat, or relying on the thin-set to do the waterproofing.. Just be sure to always follow the product manufacturer’s recommendations.