You could be tempted to tile your floor if you want something durable, long-lasting, and aesthetically pleasing. Although the result is worthwhile, the process might be more costly and time-consuming than other floor coverings. Depending on your budget, you can lay tile floors yourself or hire a professional tiler.
For a 40-square-foot space, most people consider 10-16 hours of tiling to be expected. You’ll need around an hour for prep, an hour for layout, and three to four hours for grouting and cleaning for each project. Remember to wait between 24 hours and 48 hours between the installation and grouting.
This article will talk about how long it usually takes for someone who knows what they are doing to tile a room and someone who doesn’t know how to do it. I will also talk about how different it is to tile a wall from a floor, how hard it can be to tile a bathroom, and how long that takes.
How Long It Takes To Tile A Room?
Let’s discuss the key, central question. You’re about to tile a room, and are wondering how long it’ll take?
Unfortunately that’s a tough question to answer because it is dependent on various things. The size of the room, the quality and type of material, and your skill level are all factors to consider. Experts say a complete beginner can lay tile flooring in an average (40 square foot) room in around 16 hours. The installation will take about 12 hours if you have prior expertise and knowledge of accomplishing it. Professionals with years of experience can complete the task in under 10 hours.
You may speed up the installation process by designing the arrangement of your design before you begin. Going to a professional with an idea of what you want can help speed up the process, even if you’re not sure precisely what you want. On the other hand, your flooring contractors will be able to guide you through the process if you’re unsure.
Tiling A Bathroom
Tiling a bathroom floor takes two to three days (approximately six to eight hours). The bigger your bathroom, the longer it will take. It takes approximately 24 hours to 48 hours for a tile floor to fully cure. Your floor may become uneven, and the tiles may get moved (and potentially start tenting) if you walk on them too soon. So wait the necessary amount of time before walking on your tiles.
Your bathroom floor’s difficulty gets determined by its size and complexity. A small bathroom can get tiled in one weekend. Tiling a 100-square-foot master bathroom, on the other hand, can take several days. If the project is too complex, consider hiring an expert. Before tiling, make sure your subfloor is sturdy and in good shape. Otherwise, the floor may break and become uneven.
Underneath the tiles, a subfloor is the foundation of your floor. It supports your weight as well as the tiles. Plywood is used for the majority of subfloors. Concrete slab flooring, which can support itself, is a common exception.
Warning: Your subfloor may need to get replaced if your existing floor is broken or uneven. Water damage might also cause the subfloor to deteriorate. A musty, wet odor is another sign that your subfloor needs to get replaced. It would be best if you corrected this before tiling. You might want to hire an expert to ensure everything gets done correctly.
Should You Remove Your Toilet Before Tiling The Floor?
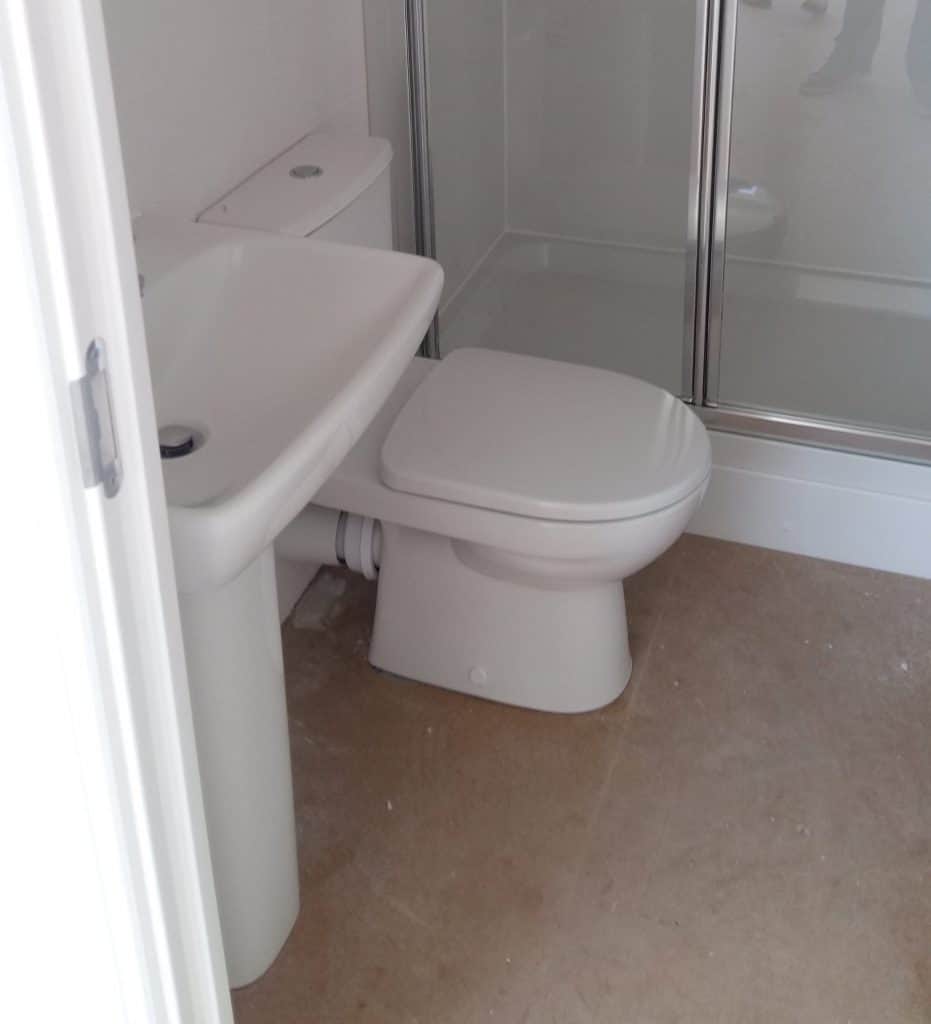
While it can be tough to remove the toilet before tiling the floor, your flooring project will be considerably more manageable – especially if you hire a plumber to remove the toilet.
This is because the shapes of toilet bases are frequently unusual, with many curves and rounded corners. Even the most experienced installer will find it challenging to cut flooring around these obstructions.
You can carry the tile up to and around the toilet flange once the toilet is gone. Then, when you reinstall the toilet, the base will sit squarely on the new floor and cover any edges around the flange, giving your project a professional look.
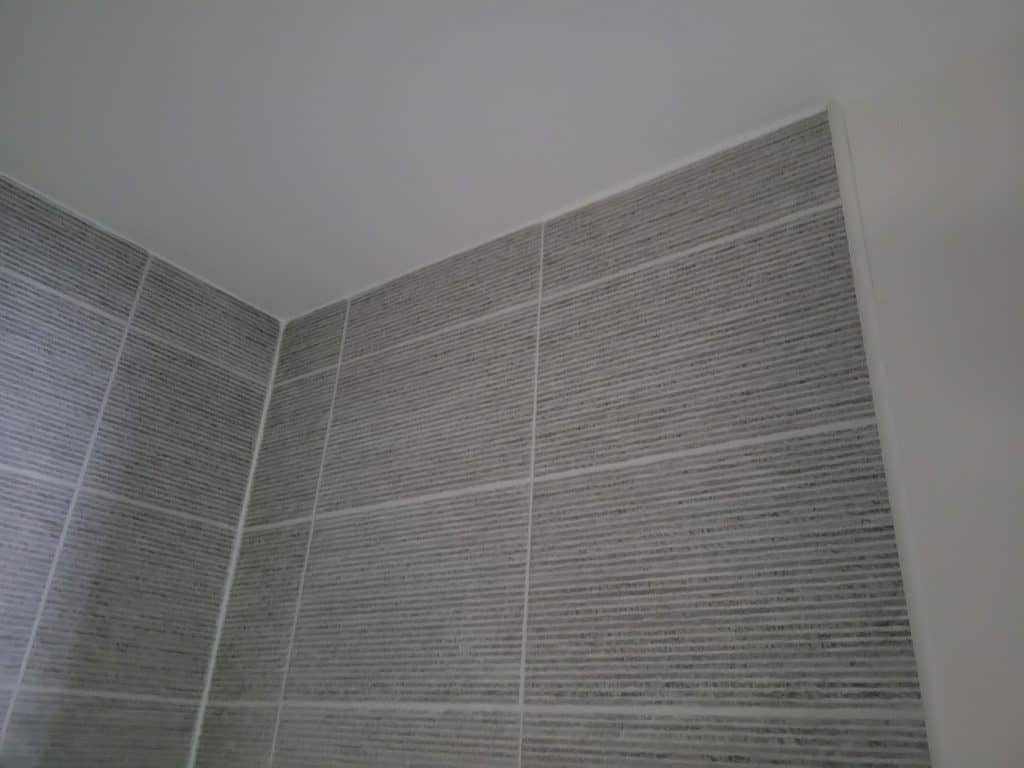
The Difference Between Tiling Walls And Floors
While you can tile either one first, most people believe that if you’re tiling both in the same room, it’s easier to tile the walls first and then the floor. That keeps the floor tiles cleaner because you won’t be working around them as much once they get placed. Before tiling the bottom row on the walls, tile the walls except for the bottom row, then tile the floor.
It is, however, primarily a matter of personal preference. The most significant advantage of tiling the floor first is that you can disguise the cuts in the floor tiles where they meet the wall when you fix the wall tiles.
When installing ceramic tile on the floor, provide an expansion joint between the tiled floor and the walls. The Tile Council of North America recommends that you leave a quarter-inch gap between the tile floor and the walls. Grout will not cover this gap since tile grout is rigid. Fill it instead with an elastic material that can withstand floor and wall movement. For this purpose, caulking is the best option.
How To Tile A Wall
Remember that vertical wall tiles will always be more noticeable than horizontal floor tiles. Under tables, desks, or carpets, floor tiles can even vanish. However, wall tile is always present.
- Fix a baton horizontally to the spot you marked as your datum point before and double-check with a level.
- Spread the adhesive evenly on a vertical datum point in the middle of the wall and set the first tile on it. (The middle is usually the best starting point for tiling).
- Working your way along the wall, use tile spacers to ensure that the tiles are uniformly spaced. Continue up the wall, trimming any tiles that are too small.
- Remove the baton and fix the bottom row of tiles once you’ve completed it and the first row of tiles is firm enough.
- If you’re concealing a raw edge with an edging strip, start with the bottom edge under the last tile of the first row and work your way up the wall, placing tiles on top of it.
- Remove any protruding spacers and any access adhesive once the adhesive has dried sufficiently.
- Using a grout float, grout the tiles, forcing the grout into the gaps between them. Only grout as much as you can, leaving time to sponge it off before it hardens. Allow the grout to cure to the point where wiping it off leaves an excellent finish and does not remove it from the joints you just finished.
- Finally, use a moist sponge to wipe away any extra grout residue from the tiles and wait for the grout between the tiles to dry. To attain the ultimate polish, rub with a clean, dry cloth after a couple of hours.
- Use excellent quality silicon at connections in moist places, as directed by the manufacturer.
After the grout has cured, add decorations and hangings, and if the tiles are in the bathroom, run a bath or shower to expose them to moisture.
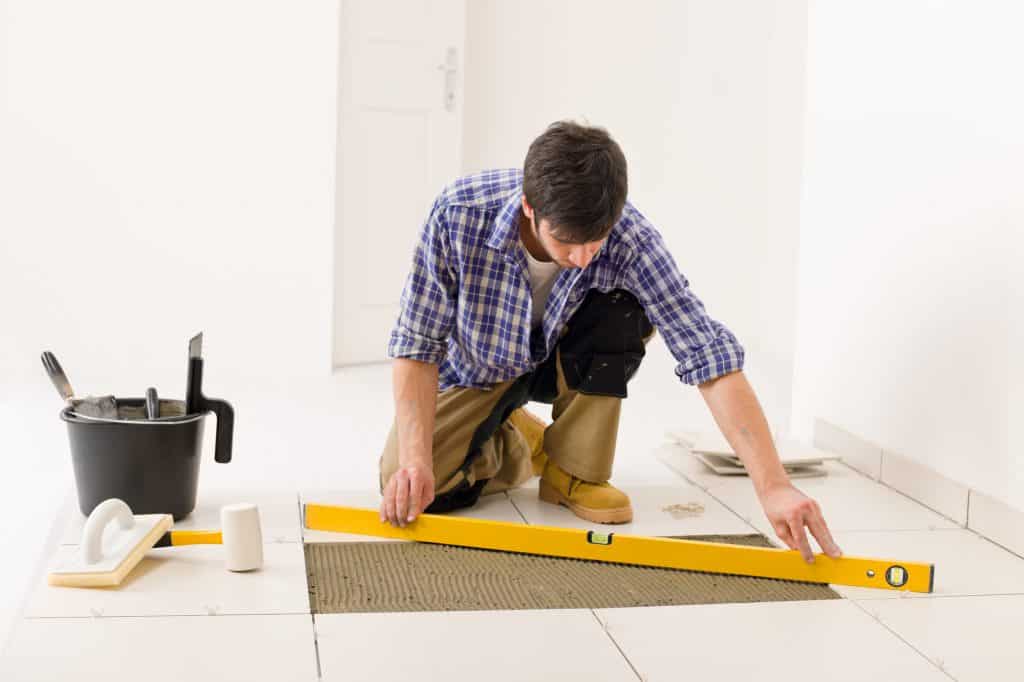
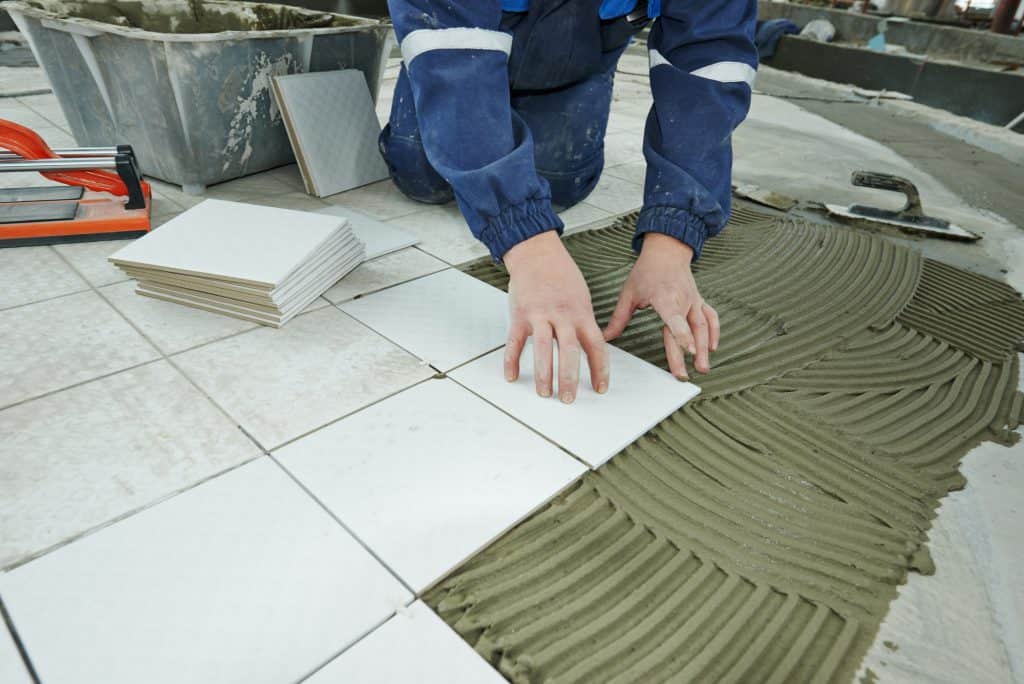
How To Tile A Floor
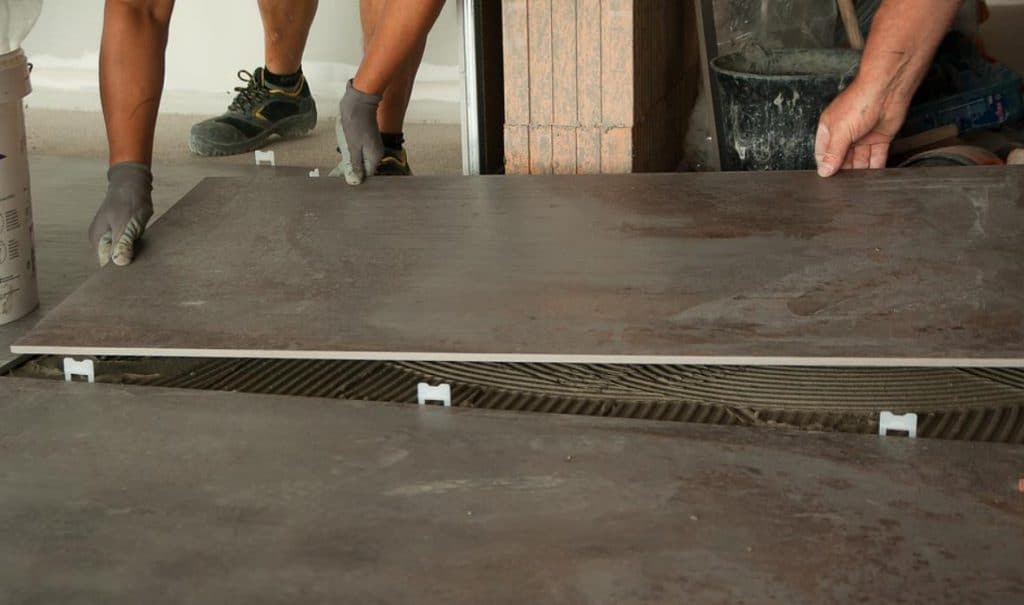
Begin placing the tiles, start at the room’s center and work outwards. Starting by laying out tiles is to draw a guideline, also known as a layout line, in the room to ensure that your tile pattern gets uniformly distributed. To find the midway point, use a tape measure to measure the four walls in the room.
- Ensure the floor is sturdy and does not flex when you walk on it. Sheets of 6mm cement backer board should get glued to wooden floors with tile adhesive and screws or decoupling matting. Then, using flexible glue, adhere to your chosen tiles.
- Decide on the pattern you’ll use to put the tiles and where you’ll start. That is usually the center of a square room rather than one of the edges.
- Make a guideline to ensure the first row is straight, then follow it to the room’s edges, spreading an adhesive area on the floor and bedding the tiles in. Make sure the bottom of the tiles are thoroughly covered, as any space beneath them could cause cracking. Anti-fracture membrane might also help reduce this risk.
- To ensure that the tiles get evenly spaced, use spacers and don’t step on them until the adhesive is completely dried. It’s worth employing a lash clip system on bigger tiles, especially polished finished ones, to maintain spacing and leveling.
- After the tiles have dried, grout them as described in the wall tile section.
- Natural stone and some porcelain tiles require sealing after installation. Enquire in-store about caring for your tiles, and follow the manufacturer’s sealing and cleaning recommendations.
Conclusion
When tiling an average size room, it can take anywhere from 10 hours up to 16 hours, depending on the size, the material, and the skill level of the person doing it. However, this is different in bathrooms because tiling around the shower, bathtub, or toilet can take more time. Remember to give the tiles enough time to cure after installing them because walking on them may cause them to move.
Start in the middle when tiling a floor and work your way out from the center instead of the corners. It is also recommended to tile the wall first because if you tile the floor first, the tiles will get dirty as you tile the wall, and you will have to wait for the floor tiles to fully cure before you can get started on the wall tiles.