Tiling has always been a rather confusing task since the start. From afar, the process looks rather simple; just flatten the surface, lay some cement, mortar, or adhesive and start laying tiles, right? However, it is only when you get up close and personal that you get a better idea of the intricacies involved.
Today, there are many different types of tiles; from the material they are made of all the way to their size and design. When tiling, even the smallest variable requires a change in technique. A prime example of this is whether you should soak tiles before laying them.
The main idea behind soaking or wetting tiles before installing them is that the base of your tiles is porous and therefore has a lot of air inside. If you lay dry tiles directly on top of mortar or cement, the tile will stick initially but as time passes, it will most likely fall off. By soaking them, you are replacing the air with water, which allows the mortar or cement underneath to form a strong bond.
Let’s look at the why, how, and when you should wet or soak tiles before laying them in detail.
Why Soak Tiles at All?
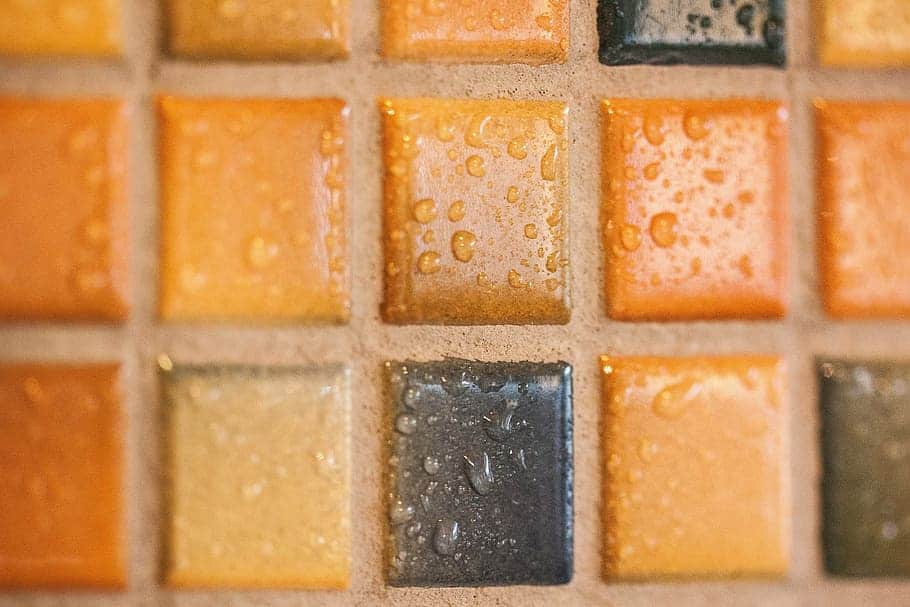
As mentioned above, the goal is to fill the air pockets underneath the tiles. When you place your tiles in a bucket, you will find that air bubbles will keep rising for a while. Once they stop, you can safely apply the tile.
A major concern with this is presented in third world countries or farms where tile laying adhesive isn’t the norm. Instead, tiles are laid directly on cement (without mixing aggregate). You can find examples of this in most of Asia, Africa, some South American countries, and more. This practice is also relatively common in Europe.
When you apply a dry tile on top of adhesive or cement, the tile will soak up all the water and absorb it into its interior. This will mean that the cement or adhesive underneath will dry out much quicker, effectively losing its adhesiveness. Initially, the adhesive will grip the tile, but in a few weeks, you will find that the tile is starting to loosen up. If it’s a wall tile, it will eventually fall off – especially in warmer regions.
However, it is important to note that you shouldn’t wet or soak tiles when laying them on silicone adhesive, epoxy, mastic, or any other liquid-based adhesive. The same is true if your tiles are stone-based.
What Type of Tiles Should You Wet or Soak Before Laying?
Before you wet or soak your tiles, there are two very important considerations to make. Do you need to cut the tiles? If yes, cut them before you soak them, else you risk breaking the blade or experiencing jagged ends.
Next, you need to consider what the tile is made up of. For example, as we mentioned above, stone-based tiles don’t really need to be soaked. However, if the tiles are terracotta, i.e., made of red or white clay, it is important that you soak them properly, especially the red clay tiles.
For red clay tiles, soaking is not just done to ensure a proper bond but also to increase the strength of these tiles.
White clay tiles also need to be soaked thoroughly, but here it has nothing to do with strength of the tile itself; it’s just for the sake of adhesive strength.
For porcelain and ceramic tiles, you can simply sprinkle them with water or use a brush to wet the clay layer underneath the top layer. You can get away without wetting the under layer of ceramic tiles, but we recommend you make a point of wetting porcelain tiles.
Another very important factor to consider is the thickness of the tile you are laying. If the tile is less than 1 cm thick, you simply have to wash it. Soaking is not necessary. A simple splash, brush, or sponge will do the trick. Any thicker, you will need to not only soak the tile but also let it dry a bit. If your tile is dripping and you place it on top of the adhesive or cement directly, the tile will start slipping.
If you ordered a large batch or the tiles aren’t fresh off the kiln, you are likely going to find dust underneath the tiles. Clean it off and then soak it. Alternatively, you can place the tile in water and then clean it as well. Do not, under any circumstances, leave the tile dirty.
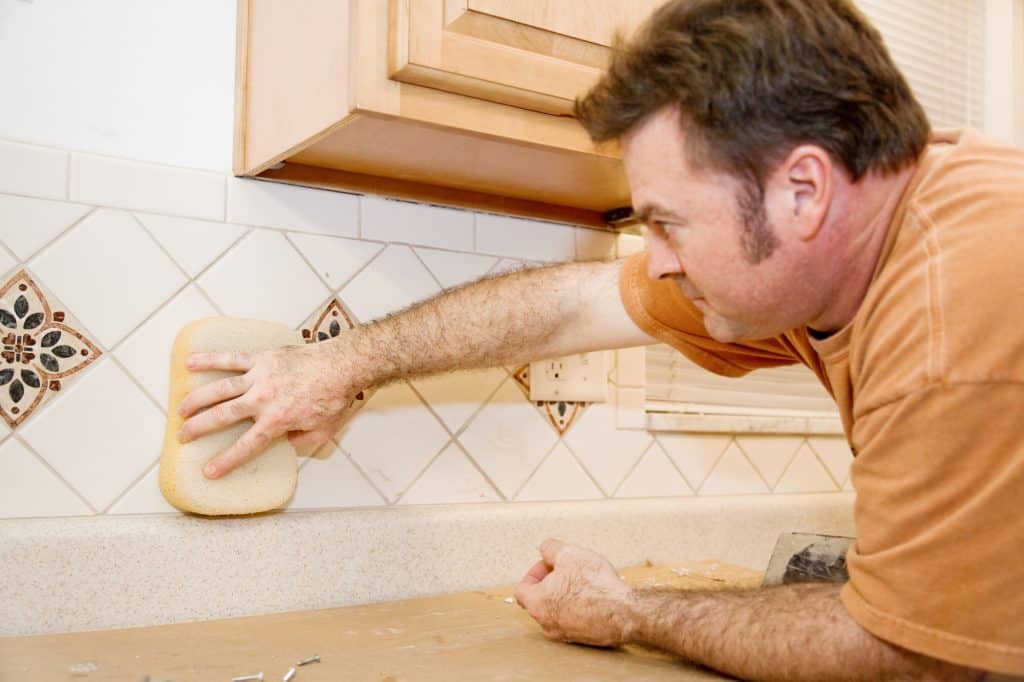
If you forgot to wet the tiles, see if you can remove the tiles and soak them. Do not splash water on top under any circumstances, else you’ll end up loosening the adhesive or cement underneath. The best course of action if you forgot is to leave it as is. Let it dry. When applying grout, make it a bit runnier and apply the top layer. Don’t overwater, though.
Don’t fill it up completely. If there is anything dry underneath, it should absorb the excess moisture. Let that dry too and then grout the tiles properly.
If you are using granite tiles, moisten the tiles and wipe it for dust. A damp sponge should be enough. Just remember to rinse the sponge after each tile.
Using the Right Water
It might not seem that important, but the water you use will also have a bearing on how well your tiles soak. Of course, the tile will soak up any sort of water you add them to, but the goal here is to ensure your safety; not the tiles’.
Consider the following when collecting water to soak or dampen your tiles with:
- Do not use water from reservoirs or spillways. It might seem like a very cost-effective way to soak tiles, but it is also a surefire way to ensure that bacteria or fungi start developing underneath the tiles. You’ll also be inviting fungus and mold into the house.
- After you’ve soaked a batch, consider changing the water.
- Don’t use detergents in the water, dry or liquid. These will form an oily layer on top which will prevent the adhesive from working as it should.
Usually, glazed wall or floor tiles only soak up 10% of water, while porcelain tiles absorb less than 0.5%. Ceramic, on the other hand, soaks under 0.1% of water, which is why we mentioned that you can get away with not soaking the same.
How to Soak or Wet a Tile?
There are many ways to soak or wet a tile as mentioned above. Except for clay tiles, you simply have to soak the under layer of tiles. If you are looking to just wet it, you can use a brush or a sponge.
Brush
Soak the brush properly in water. Try to ‘paint’ the wall of your container underneath the water to make sure water seeps into the bristles properly. Then pull out the brush and without letting the excess drip off, start painting your tiles. Two strokes – up and down – are usually enough to ensure proper coverage.
Sponge
Submerge the sponge in water and let it soak up all the water. Pick it up and squeeze it softly. You don’t need the sponge to be dripping water, but you don’t have to dry it out completely either. Again, two passes are more than enough to wet your tiles.
Soaking
It is a good idea to buy a large bucket of water. Make sure it is at least twice the size of your tiles. The best way to soak tiles is to lay them flat and stack them on top of each other, as opposed to balancing them. While the latter works as well, there is a risk of your tiles falling as you try to pull them out and breaking.
Pull the tiles out and let them rest a bit. If you can hear fizzing, that’s just the tile letting out the air and absorbing water. Don’t pull out the tiles until the fizzing stops. We recommend you leave the tiles soaked for at least 20-30 minutes before pulling out.