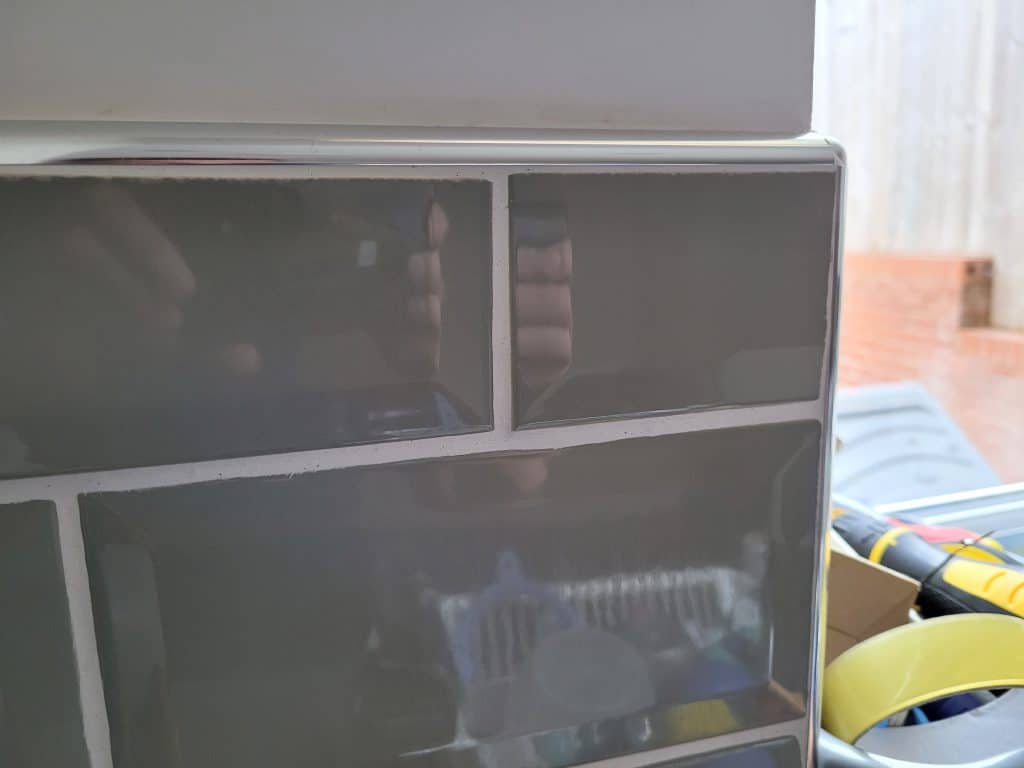
Tiled surfaces are popular for floor and wall applications because they are durable, low maintenance, and easy to keep clean. Occasionally though, the unthinkable happens, and tiles start popping off the smooth, neat surface. Sometimes quite dramatically!
Inadequate space to allow for tile and subfloor expansion is the most common reason tile tenting occurs. Insufficient, substandard, or incorrect adhesives are also contributing factors. Tenting frequently happens when tiles are poorly installed or subject to significant temperature changes.
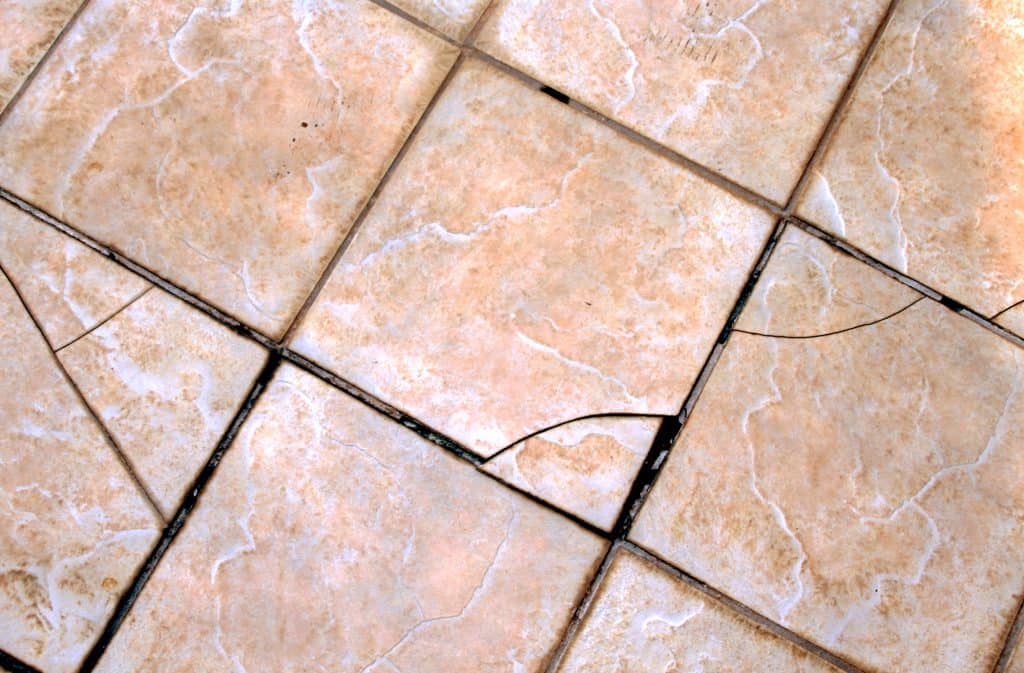
The phenomenon of tiles lifting off the floor is referred to as tenting. The shape created by two tiles balancing against each other once they have become dislodged from the surface resembles the pitched shape of a tent. Let’s explore why tile-tenting occurs and how to prevent and fix it.
What Causes Tiles To Tent?
All tiles expand and contract slightly due to changes in the tiles’ temperature or exposure to moisture. The substrate or floor that the tiles are attached or laid onto also expands and contracts to some degree. Tiles tent when they become dislodged from the surface that they’re attached to.
Tiles made from natural substances such as ceramic and vitrified porcelain are prone to expansion when heated and contraction when it is cold. Although not visible or noticeable when looking at the tiles, it does occur.
Tiles are usually bonded securely to a surface using one of the various tile adhesives or tile cement available today. The floor and tile form a solid bonded surface. When enough movement occurs, even very little in some circumstances, something’s got to give – either the tiles move upwards, or they simply crack:
9 Ways Of Preventing Tile Tenting
According to the TCNA, the best way to ensure that tile installations don’t exhibit tenting is to create space for expansion and contraction and always use the correct adhesives. Let’s explore the nine most common causes of tile tenting and how to prevent this from occurring.
#1 – Expansion
As the tiles expand due to moisture absorption or when heated by the sun shining onto them, they expand in all directions.
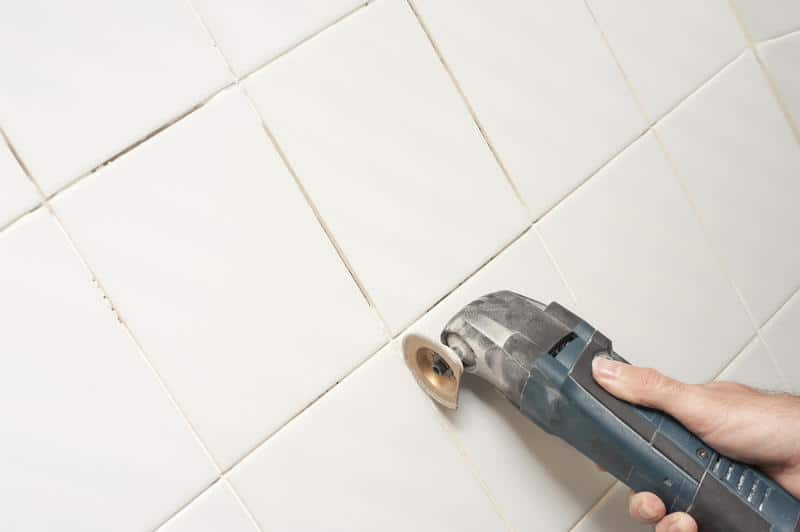
If the grouting gap between the tiles is too tiny, the only room for movement is in an upward direction. When the bond between the tile and adhesive, or the adhesive and floor fails, the tile pops up, often taking the adjacent tile along, causing tenting.
#2 – Poorly Cleaned Tiles
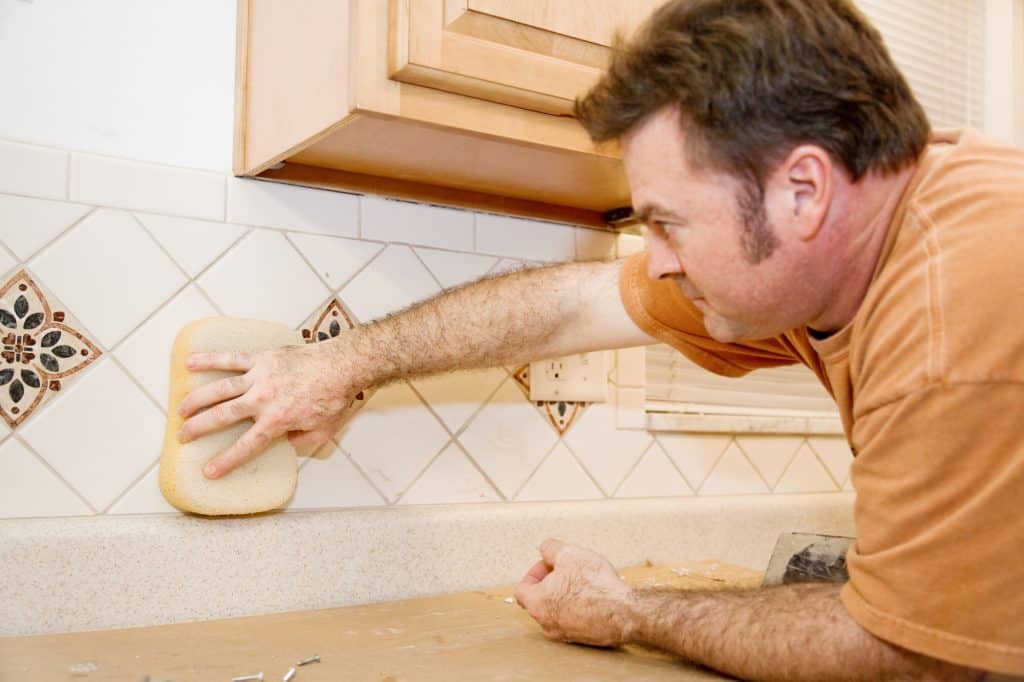
Human error, lack of knowledge, or over-enthusiasm to get started on a project are leading causes when tiles are not well laid. Even a thin coating of dust can weaken the bond between the tile and the adhesive. Tiles, even when new, need to be cleaned before being laid.
Cleaning a tile takes a little effort but is as simple as wiping the tile down with a damp cloth or sponge. Cleaning and inspecting the tiles will expose any problem areas on the tile and give the adhesive a good surface to bond onto.
#3 – Uneven Or Poor Quality Subfloor
Laying the best ties using the best possible materials will still most likely end in the tiles coming adrift from the subfloor if the floor is uneven or of poor quality.
Uneven floors make it difficult for the adhesive to be applied correctly using a notched trowel. When the trowel doesn’t glide over the surface easily and evenly, the result is an inadequately coated tile that is hollow underneath. Poor adhesive application results in only certain areas of the tile being supported and attached.
A subfloor should be perfectly stable, smooth as a plastered wall, clean and free of loose sediment and dust, and not have dampness issues. Hardwood floors that form the subfloor of a tiled surface need to be adequately reinforced to ensure no movement occurs that can lead to the tiles tenting when the tile expands.
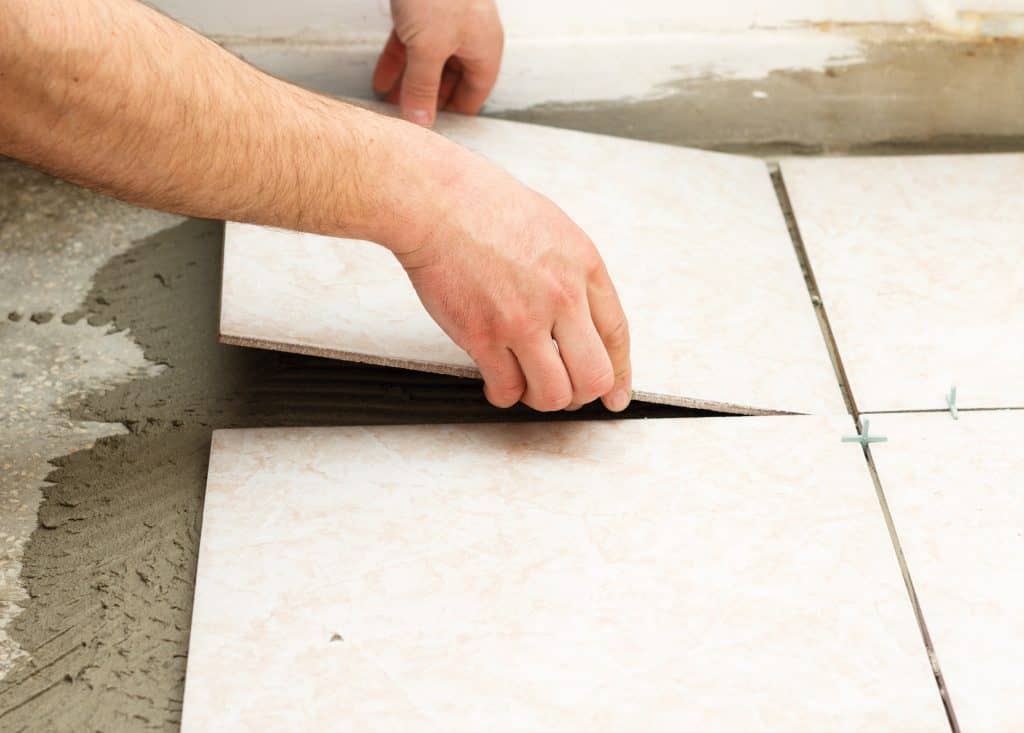
#4 – Too Little Or No Tile Adhesive Used
Using too little or no tile adhesive (It happens) is a sure bet disaster waiting to happen. Tiles rely on a firm foundation to form a rigid, durable surface.
Placing a dab of adhesive onto the tile and relying on the grouting to hold the tile in place to save money and time is not the way to get the job done successfully. You should always lay tiles onto a full bed of adhesive:
#5 – Poor Quality Or Incorrect Adhesive
When it comes to tile adhesives, stay with well-known reputable brands. Using poor-quality adhesives compromises the only bond that the tile has between the tile and the subfloor.
A common mistake is using the incorrect tile adhesive type and creating a weak adhesive bed. Tile adhesives are available in five basic types; although the first two are most commonly used, these are:
- Organic Mastics
- Thin-set mortar
- Latex
- Acrylic
- Epoxy
Each adhesive has been made for specific tiles and applications, so do your homework, even when employing a contractor. For example, an epoxy adhesive would work best in high-traffic areas with Vitrified tiles.
#6 – Poor Quality Bonding Agent
A bonding agent is an acrylic latex additive mixed into the tile cement. It improves the adhesion, flexibility, and waterproofing qualities of cement-based adhesives. Adding a bonding agent gives cement-based adhesives additional strength.
Using a poor-quality bonding agent defeats the purpose for which it is made. A general rule is to buy the best that you can afford.
#7 – Using Old Tiles
Using very old or repurposed tiles is generally not a good idea. As tiles age, they tend to lose their flexibility, which by international standards is as much as 0.01” per 10.7 square feet (0.3mm per meter squared).
Using old tiles increases the odds of the tiles becoming prone to cracking and tenting. Unless you understand the risks involved, the reduced lifespan of old tiles is not a good idea.
#8 – Laying The Incorrect Type Of Tile
Selecting the correct type of tile for the specific space is critical to reducing unnecessary problems in the future. Tiles prices vary considerably, from as little as $1 to $50 per square foot.
Choosing, for example, a sandstone tile for a patio in the dry arid desert regions won’t be suitable for wet and cold areas. Soapstone tiles would be better suited to wet conditions and give a similar look.
Outdoor tiles need to be strong to deal with the moisture and temperature fluctuations they’d be directly exposed to. Porcelain tiles are tough and robust and are well suited to outdoor applications:
Regular ceramic floor tiles can also be used if needed, but they need a PEI rating. All tiles used outside should be slightly textured to ensure they’re not slippery when wet.
Tiles exposed to the elements must be non-porous to avoid moisture absorption and staining. Tile cement and grout used outside must be high quality and waterproof to prevent tenting.
#9 – Lack Of Tile Sealant
Tile sealant is applied to the tile’s surface to prevent the ingress of moisture into the tile. Porous tiles such as unglazed terracotta or natural stone tiles will last significantly longer without the risk of tenting occurring when adequately sealed.
Sealants are made for specific types of tiles, so make sure you choose the right one. Sealants are often clear in color and liquid form, so they’re easy to apply and don’t affect the color of the tile.
Before applying the sealant, ensure that the tiles are clean and dry. Applying the sealant to tiles is done only once the tiles have been laid and the adhesive has dried. It must be done before grouting the surface. Any grime remaining on the tiles will be locked into the tile’s surface by the sealant, which can spoil the final finish.
Sealant is easily applied to the tiles using a sponge. Apply an even coating to the tile’s surface and wipe off any excess. When working with this substance, remember to wear gloves.
Repeat this sealing process at least four times and allow the sealer to dry. Using a fan to assist in the drying process will speed things up.
Applying the sealer before the grouting process ensures that the sides of the tiles are sealed and prevents the tile from being discolored during the grouting process, particularly when the grout is a different color from the tile: